Blog

  • One Dress, 5 Ways: How to Style a Modest Dress

    One Dress, 5 Ways: How to Style a Modest Dress

    If you’ve ever felt like you need more clothes to create more outfits, here’s the truth: you don’t.

    One well-made modest dress can become the foundation of an entire wardrobe — if you know how to style it correctly.

    In this guide, you’ll learn how to take a single modest dress and transform it into five completely different looks using simple styling techniques. This is how you maximize your wardrobe, save money, and still look polished in every setting.


    Why One Dress Is All You Need

    A thoughtfully designed modest dress is one of the most versatile pieces you can own.

    With the right styling, it can transition across:

    • Casual everyday wear
    • Work or professional settings
    • Church or formal occasions
    • Travel and errands
    • Layered seasonal looks

    Key idea:
    Versatility isn’t about having more — it’s about using what you already have better.


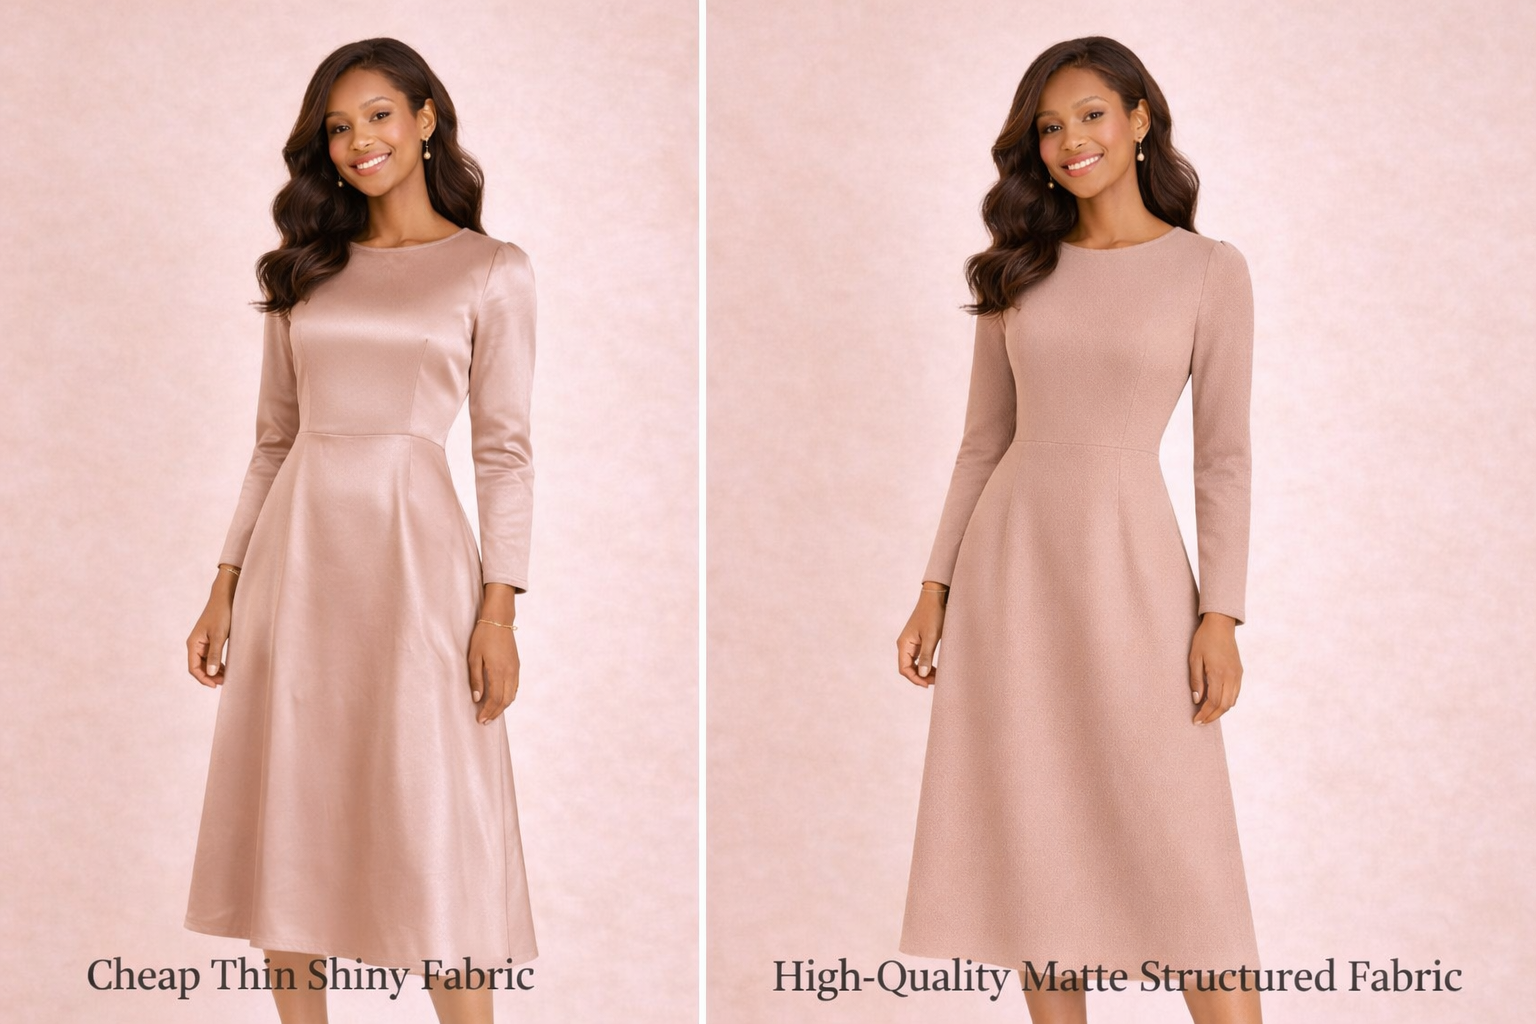
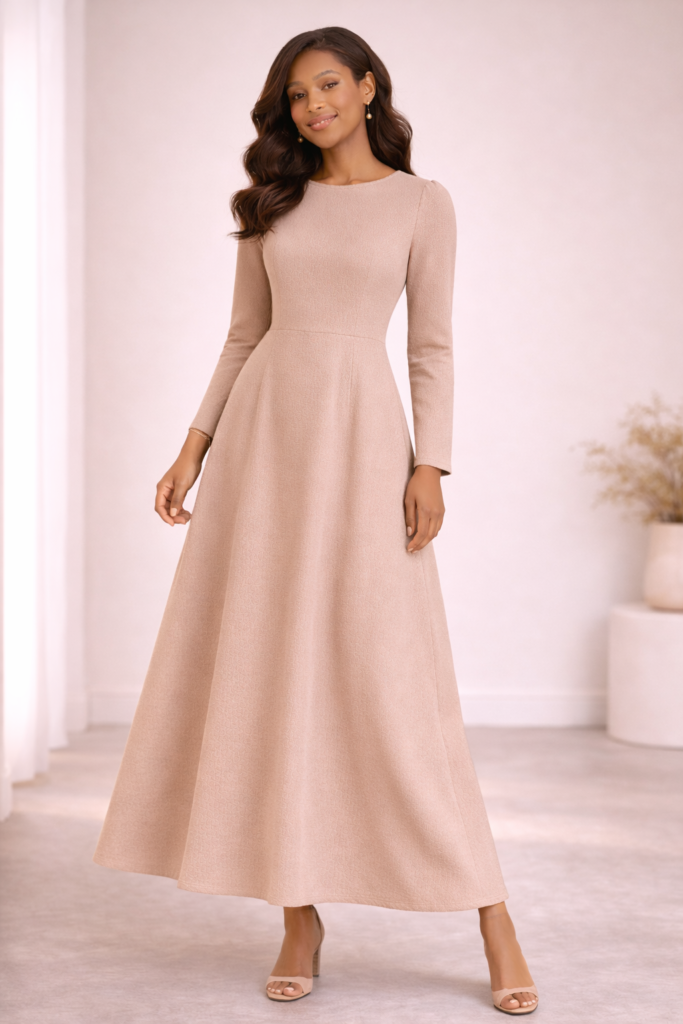
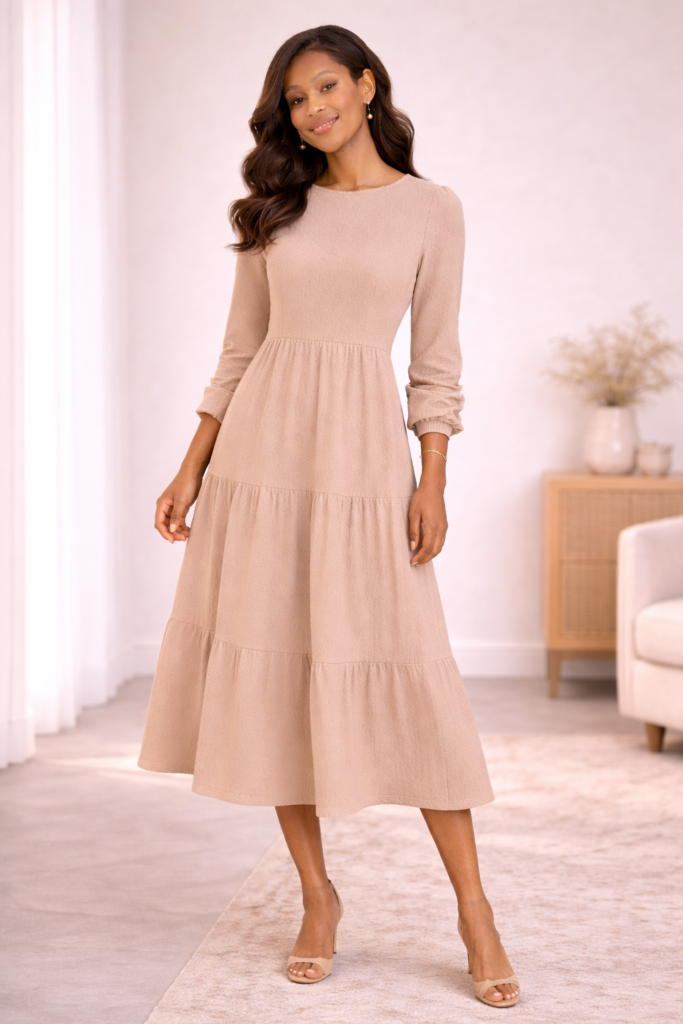
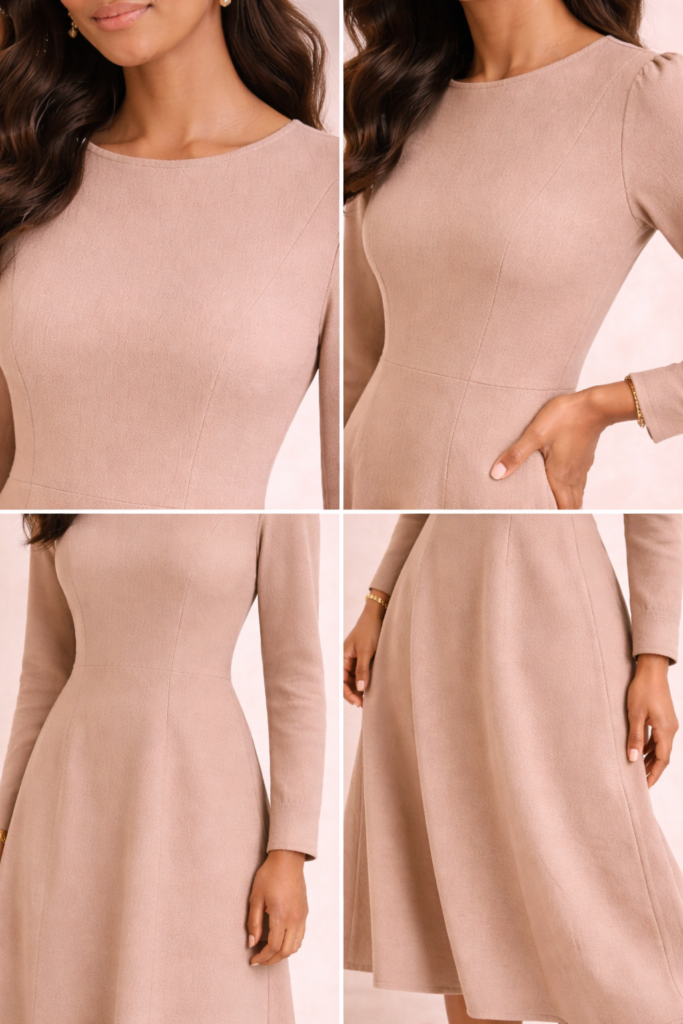
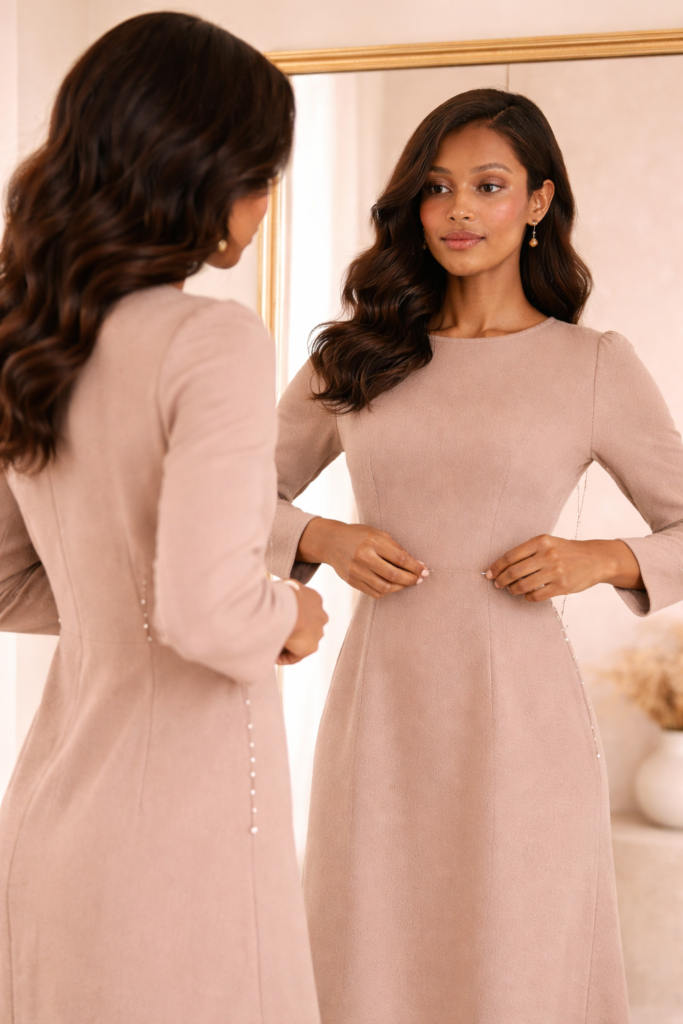
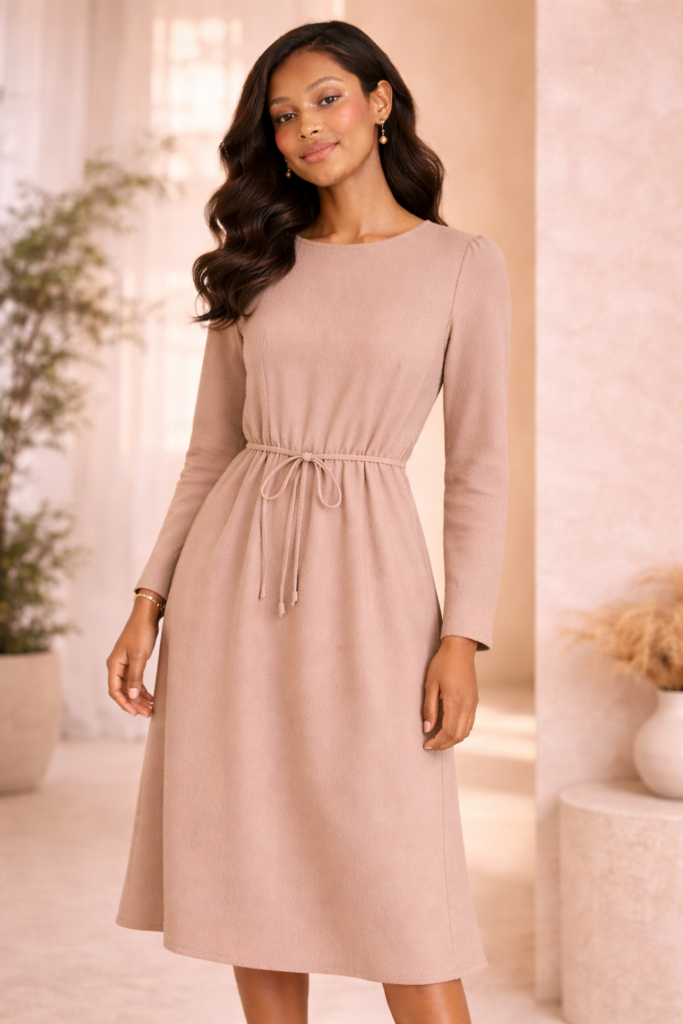
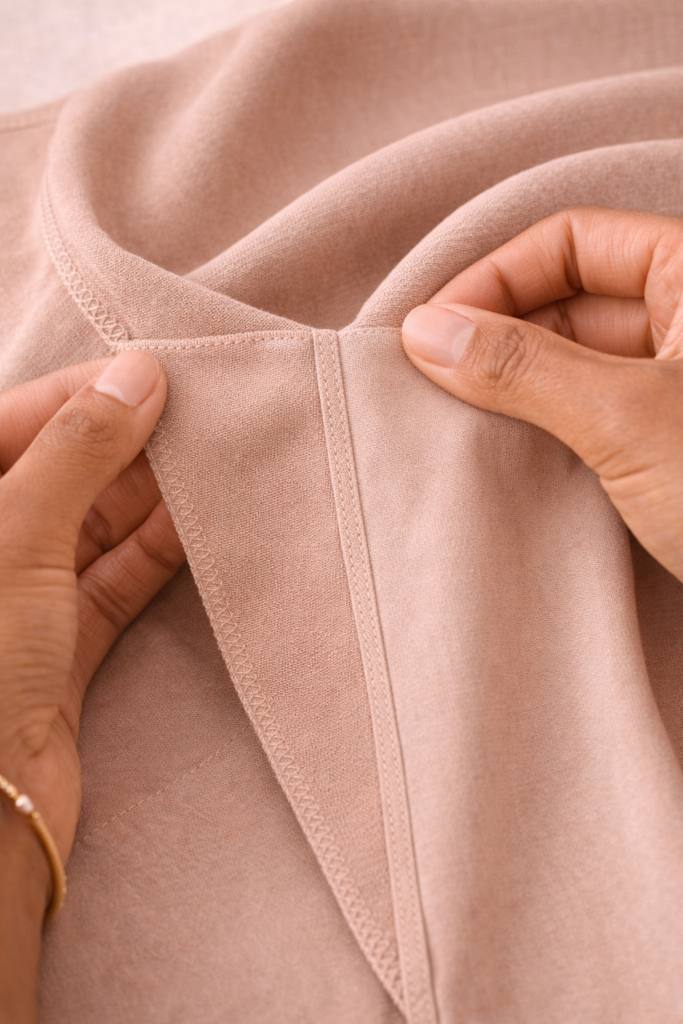
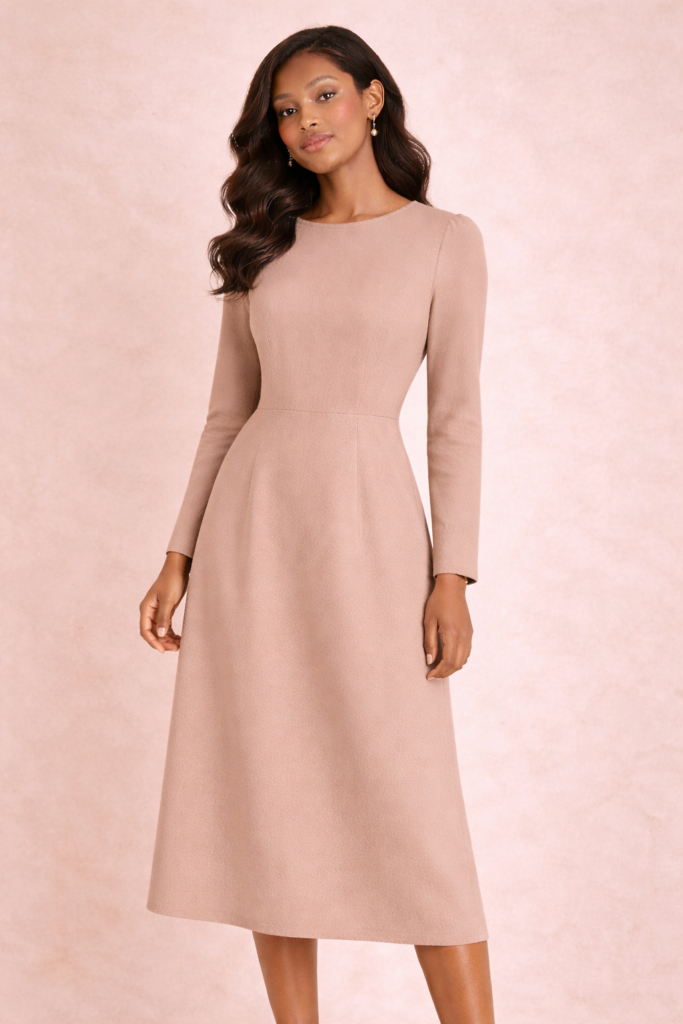
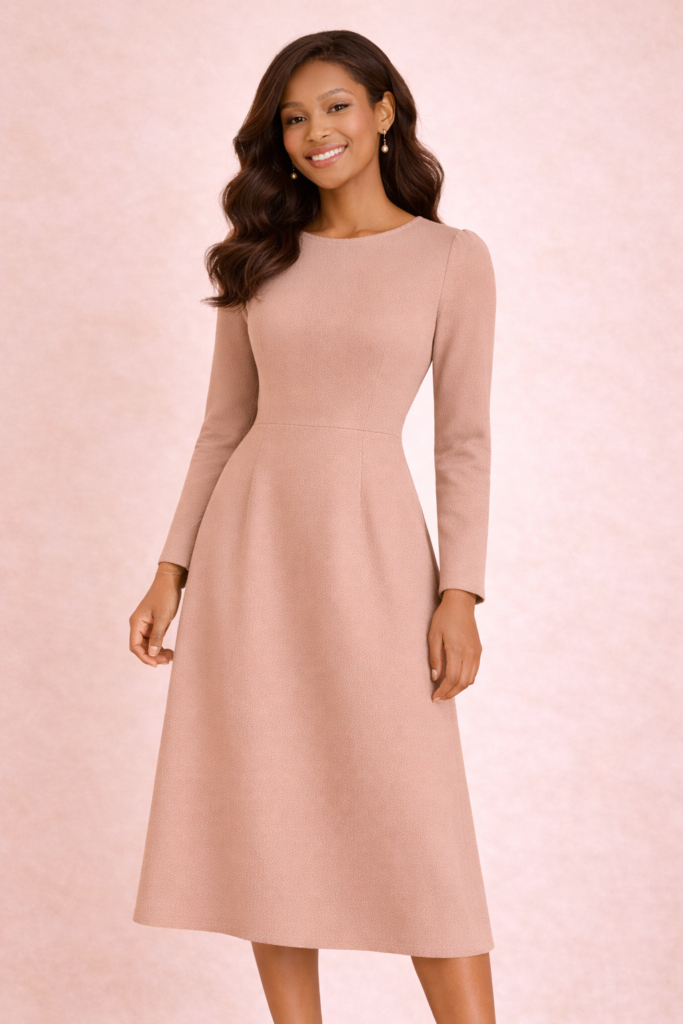
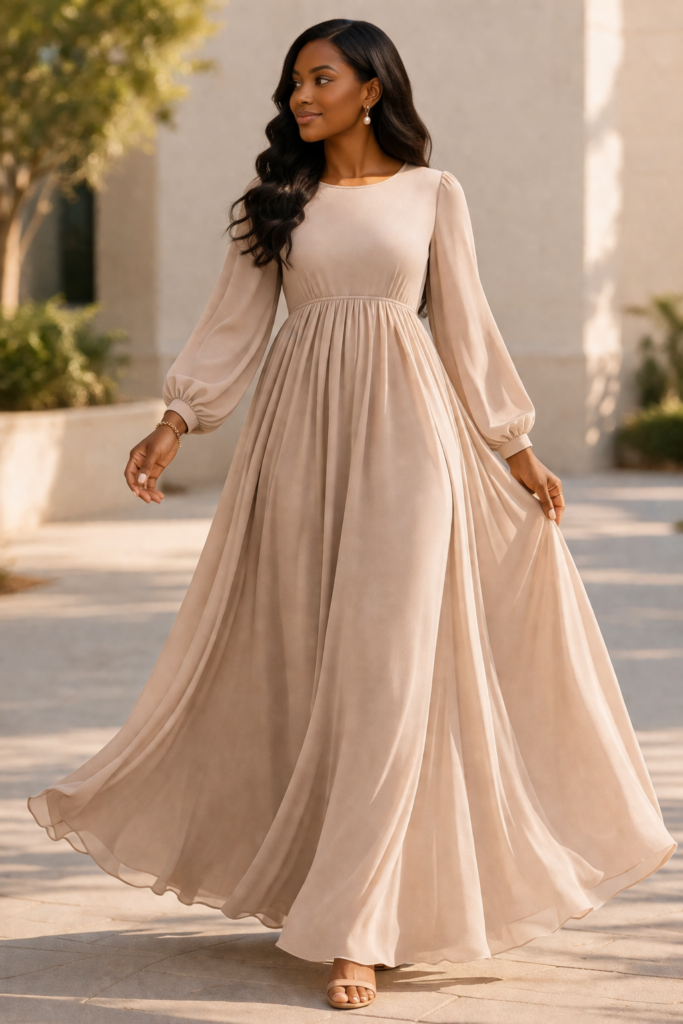
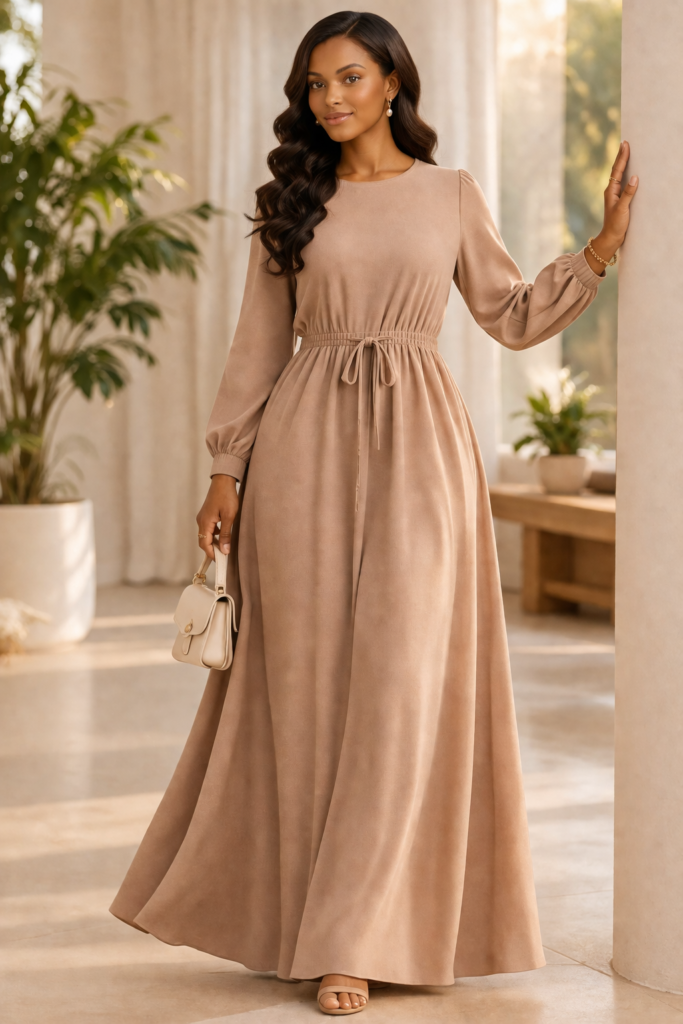
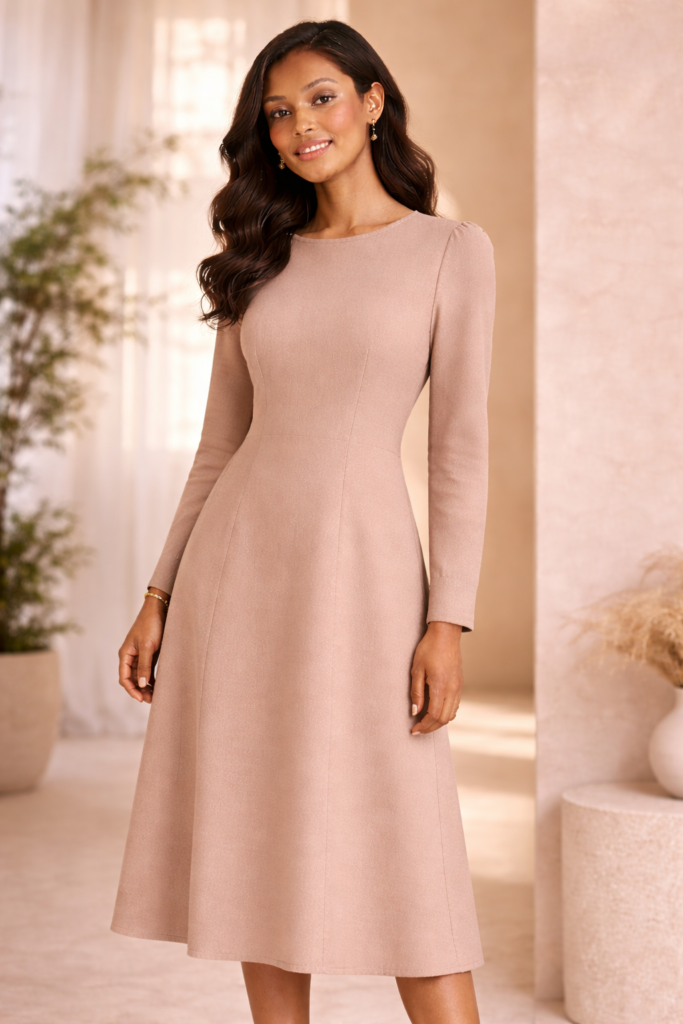
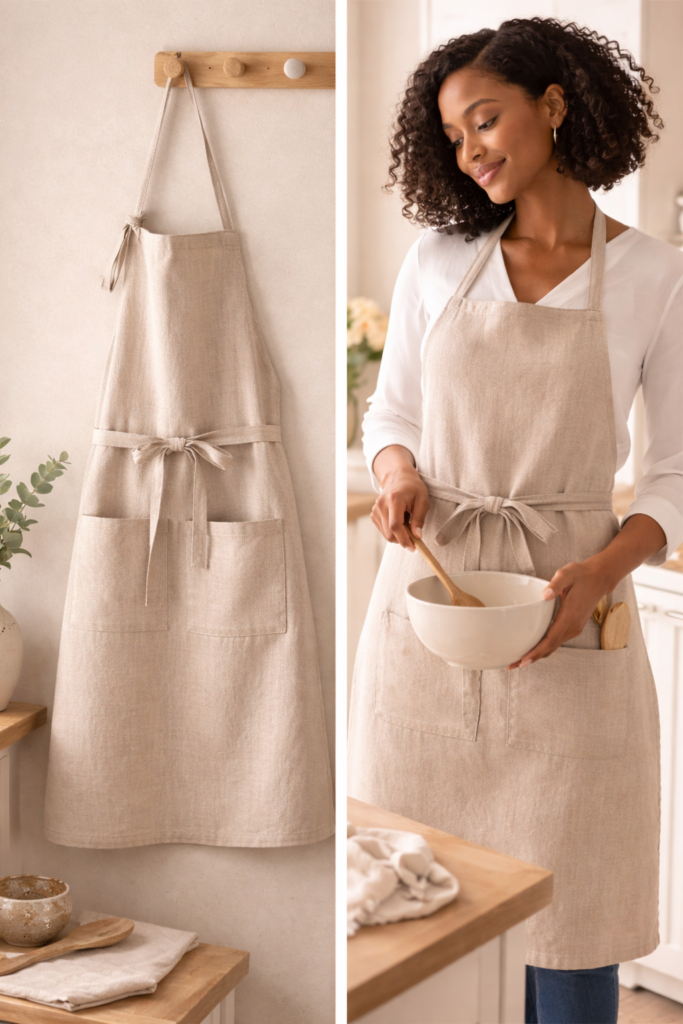
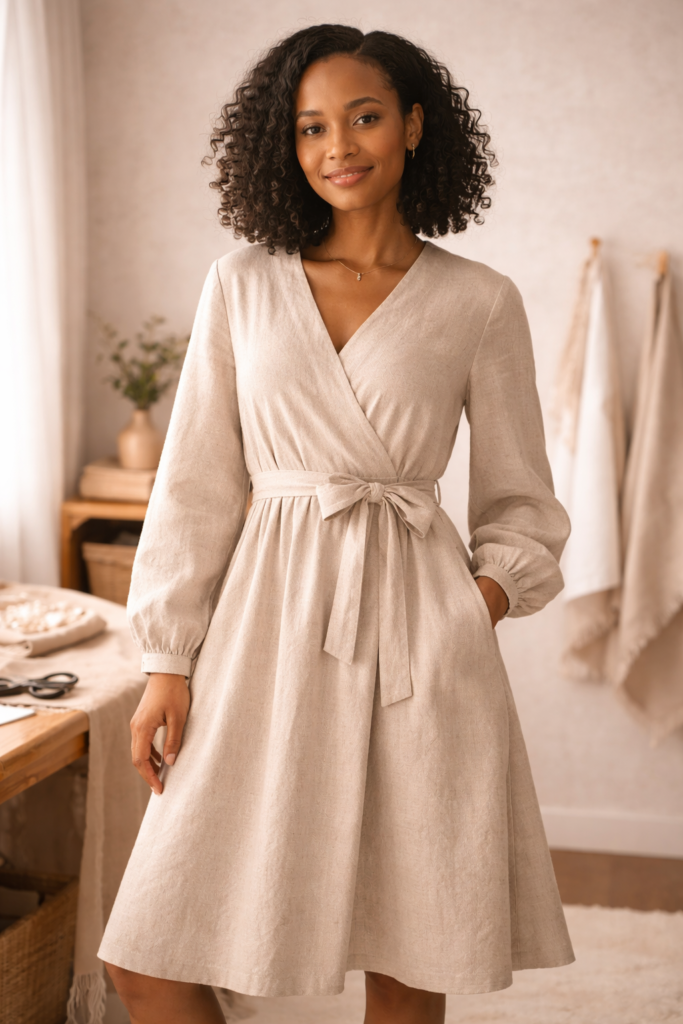
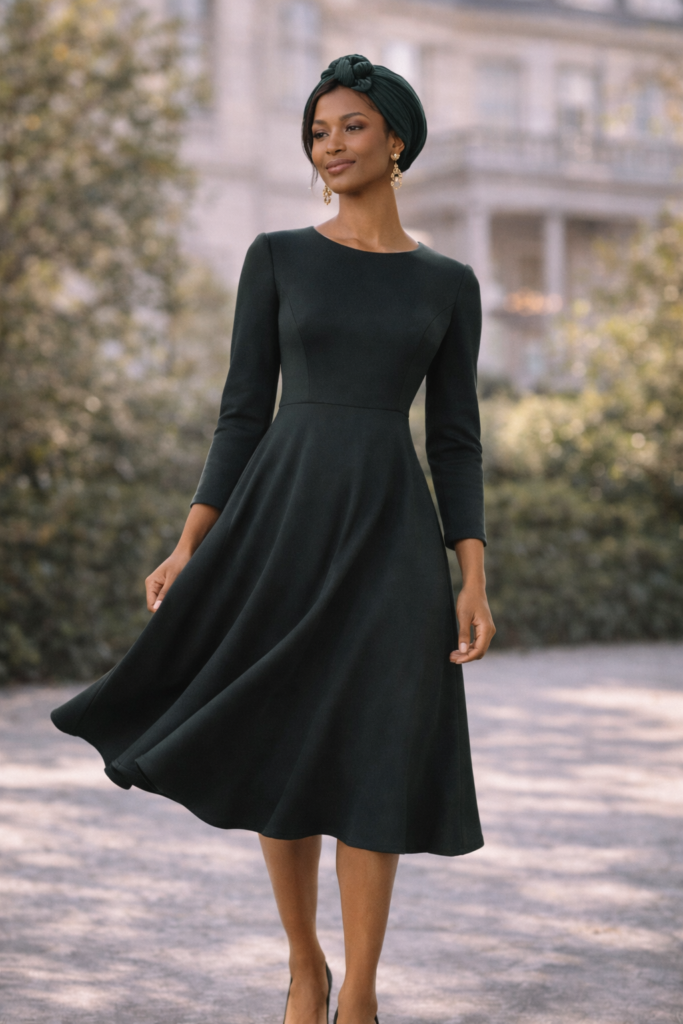
    The Base Dress (Start Here)

    One Dress, 5 Ways: How to Style a Modest Dress

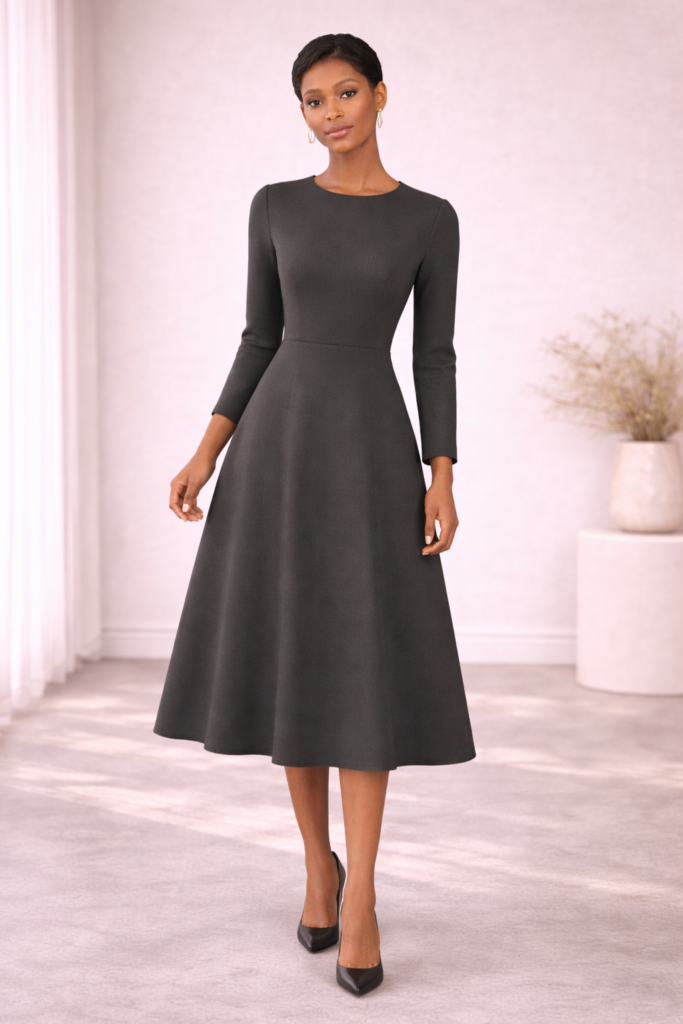
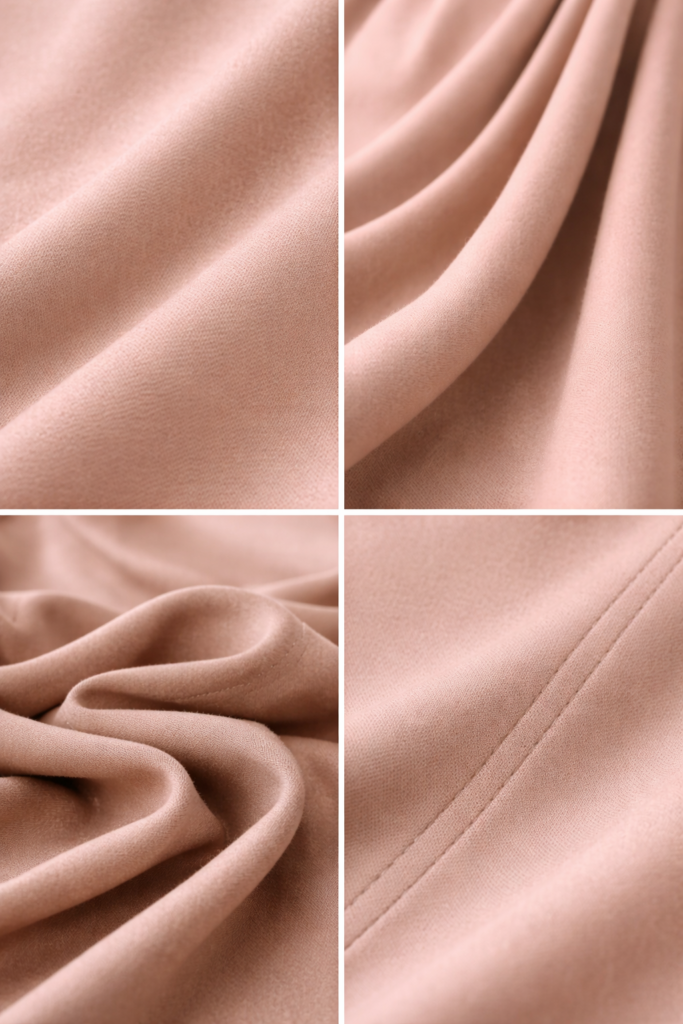
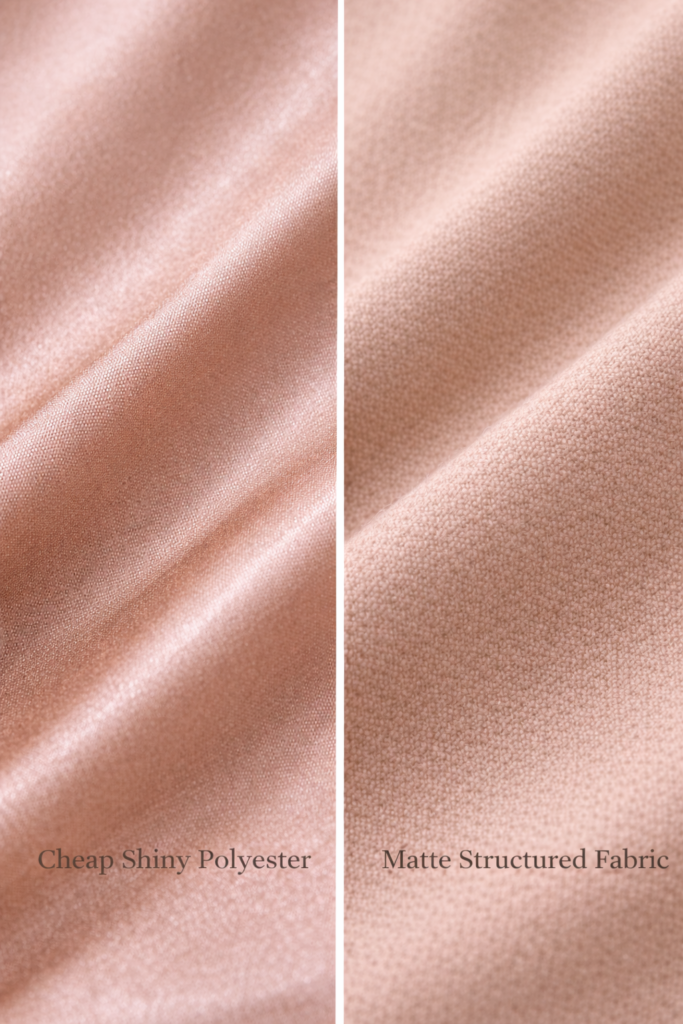
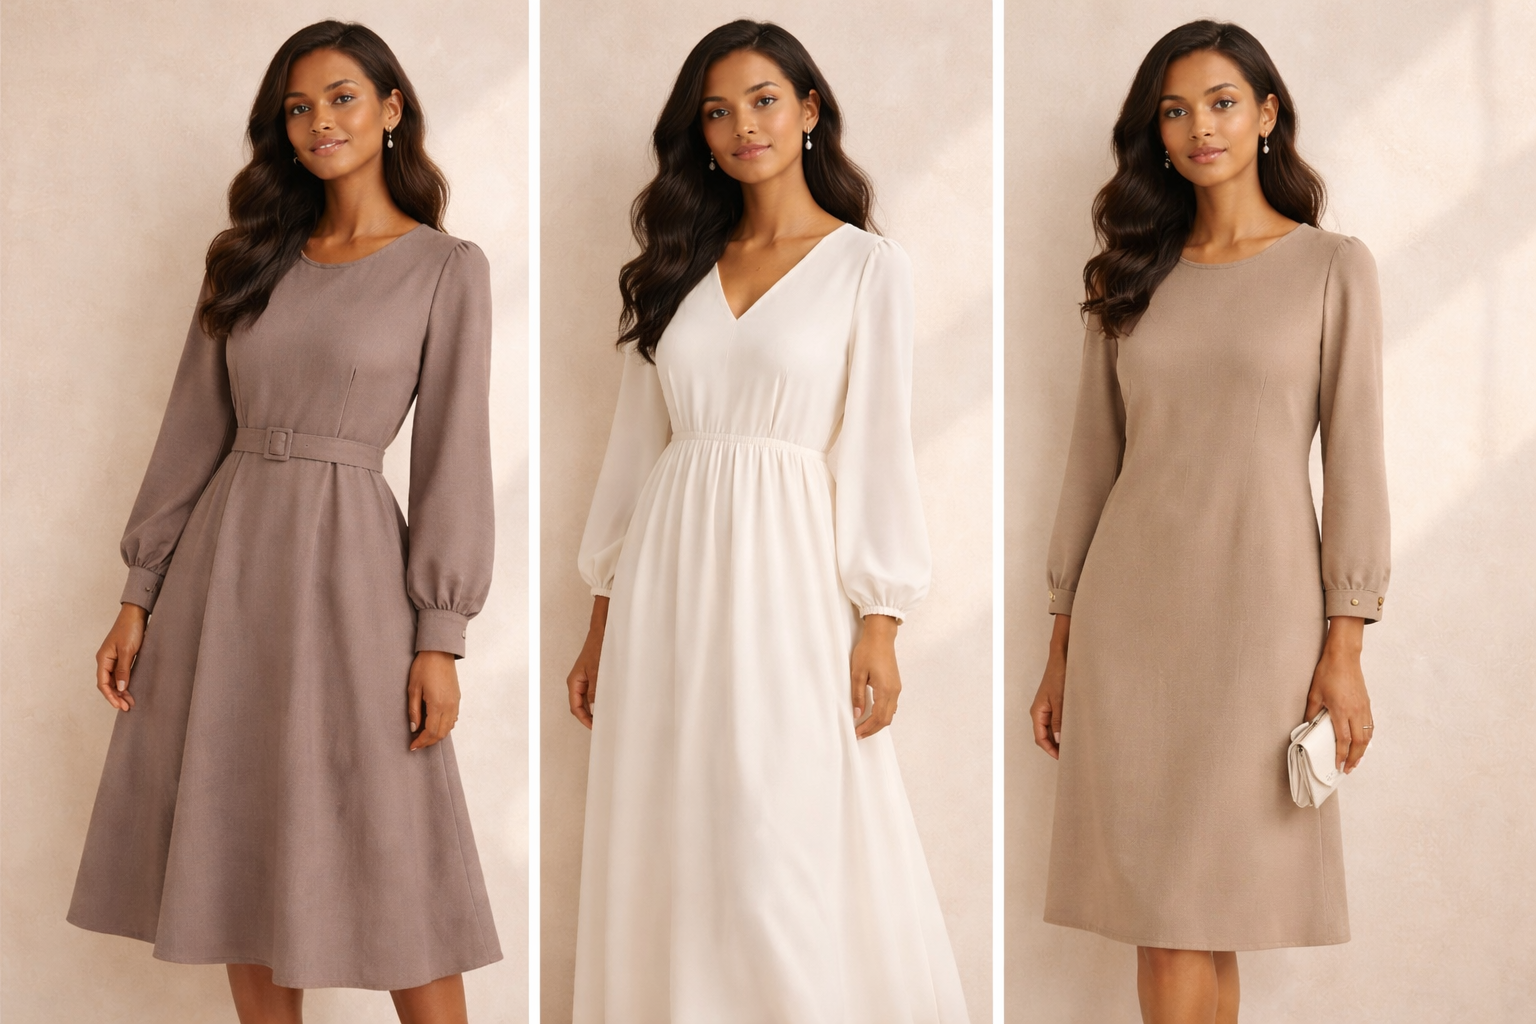
    For best results, choose a dress with:

    • Neutral color (black, beige, navy, soft brown)
    • Clean silhouette (A-line, maxi, or shift)
    • Minimal design (easy to build on)
    • Midi or maxi length

    This becomes your core piece that everything else builds around.


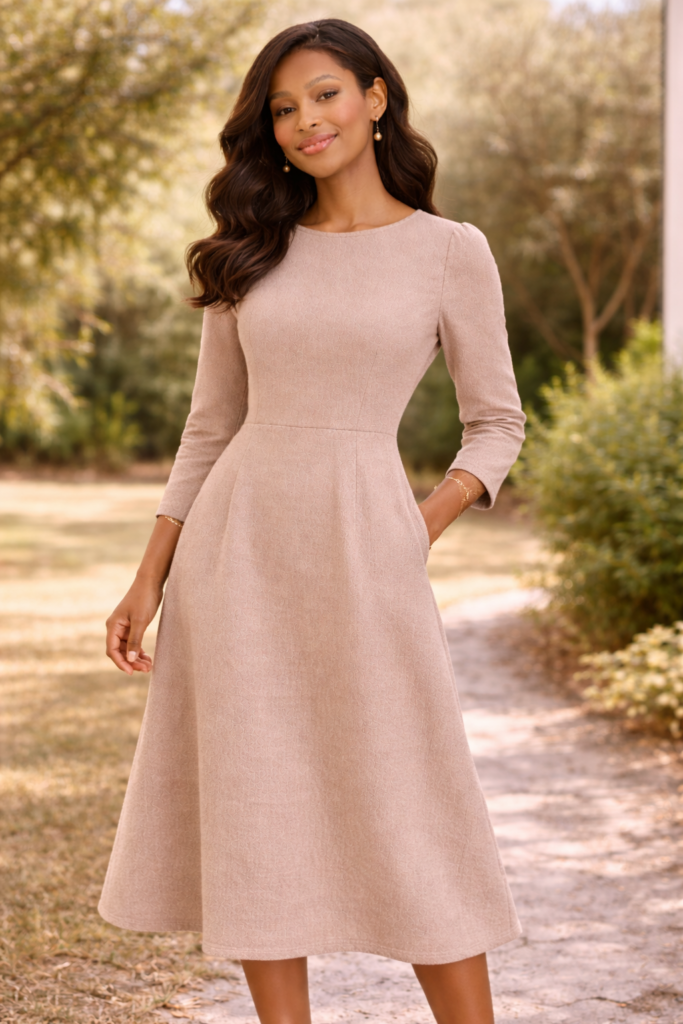
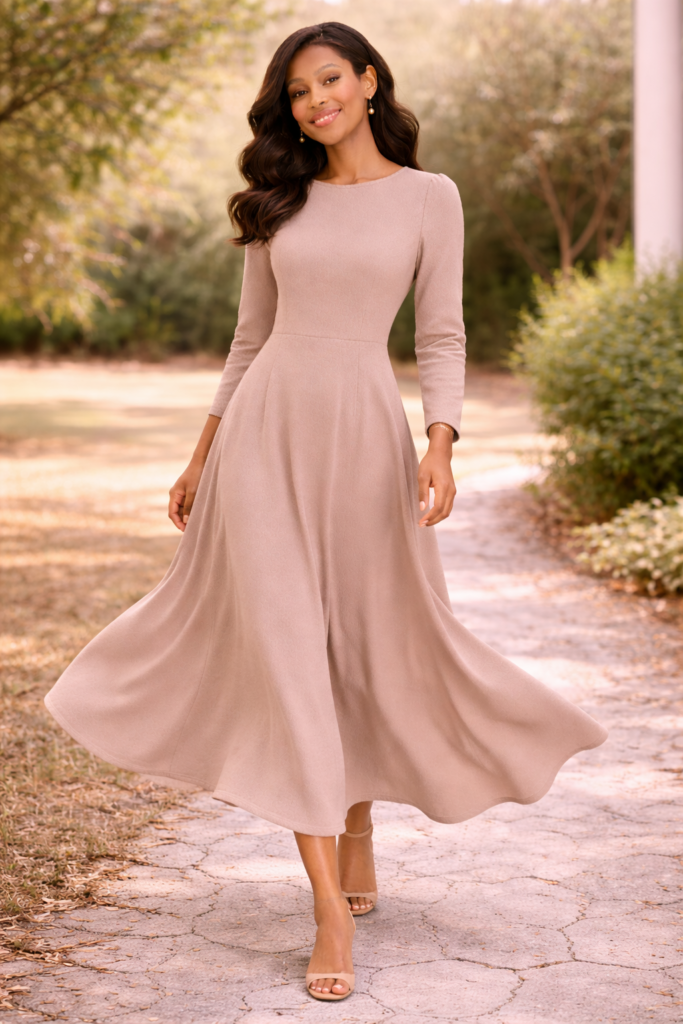
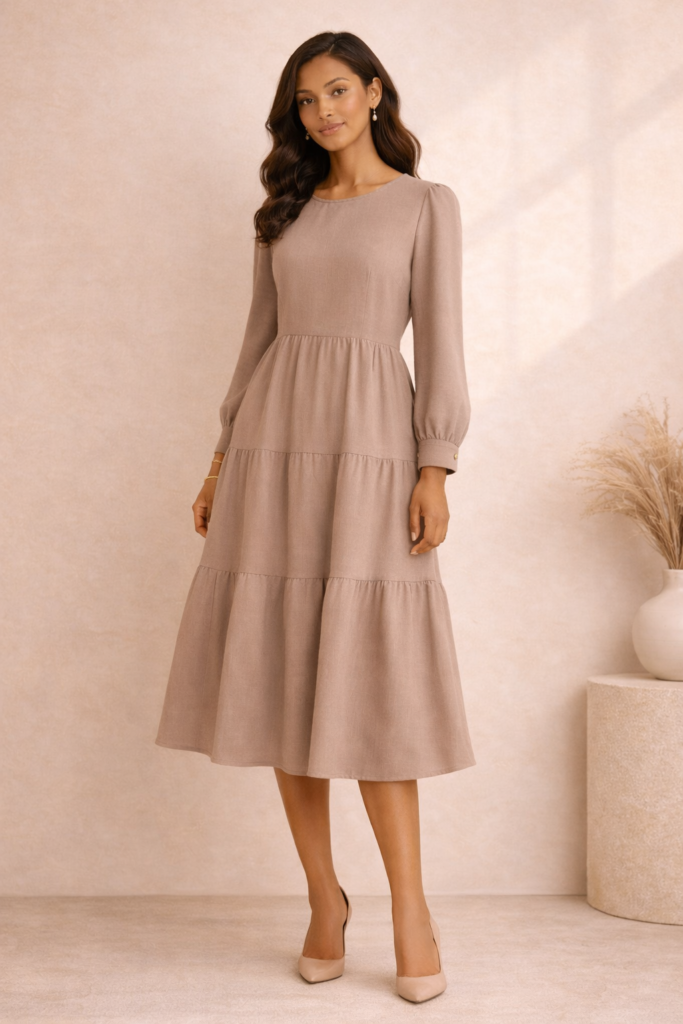
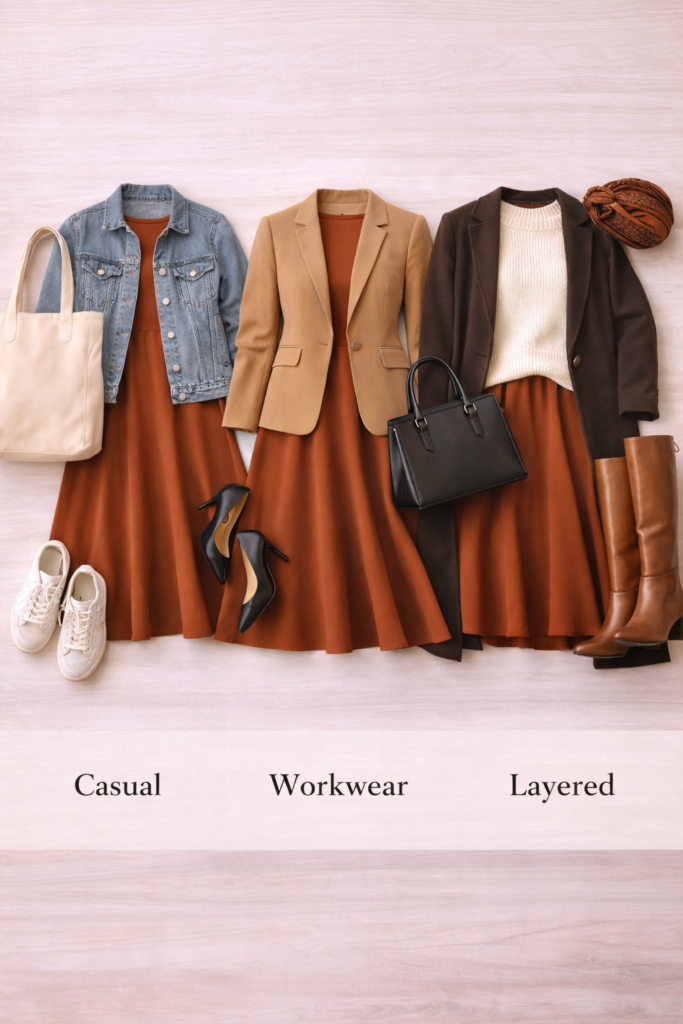
    Look 1: Casual Everyday

    One Dress, 5 Ways: How to Style a Modest Dress

    Keep it simple, comfortable, and effortless.

    Style it with:

    • Flat sandals or sneakers
    • Minimal jewelry
    • Crossbody bag
    • Natural hair or simple headwrap

    Result:
    A relaxed look that still feels intentional and put together.


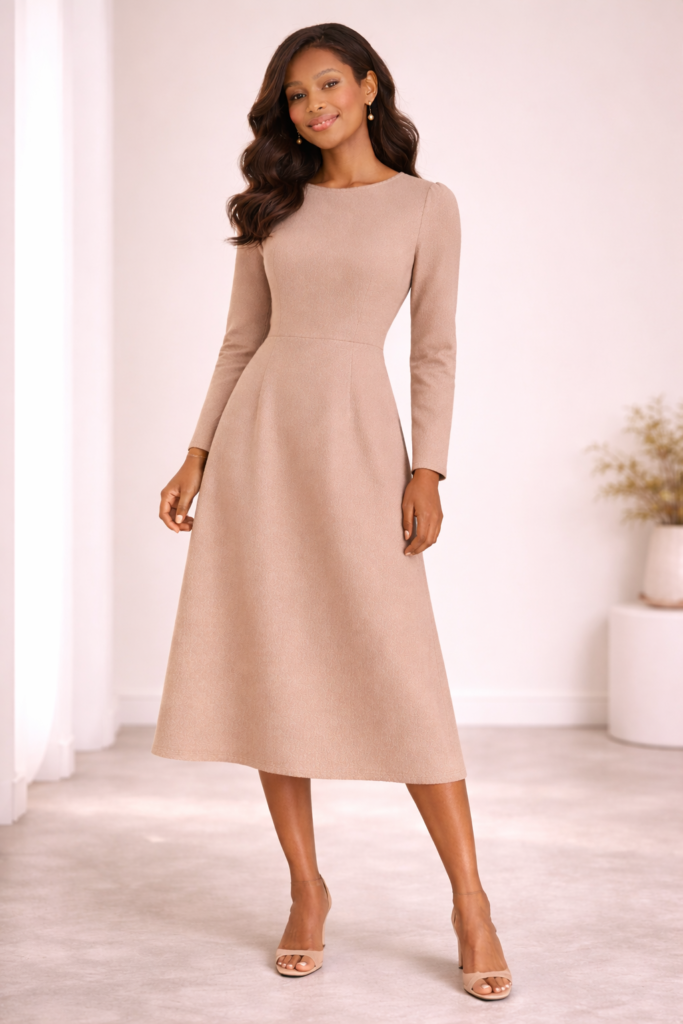
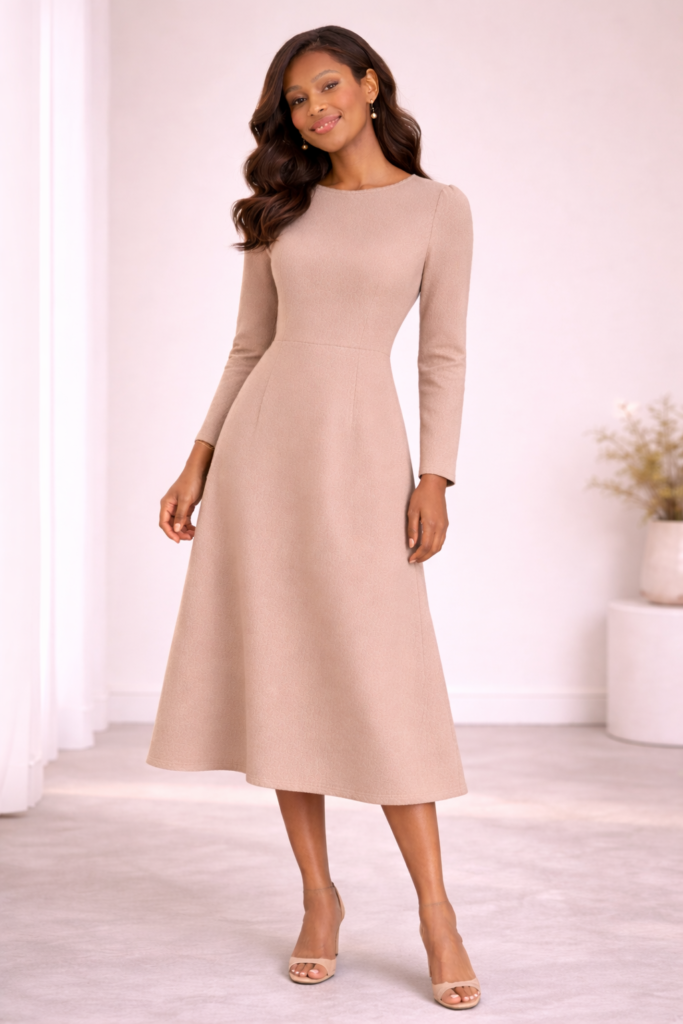
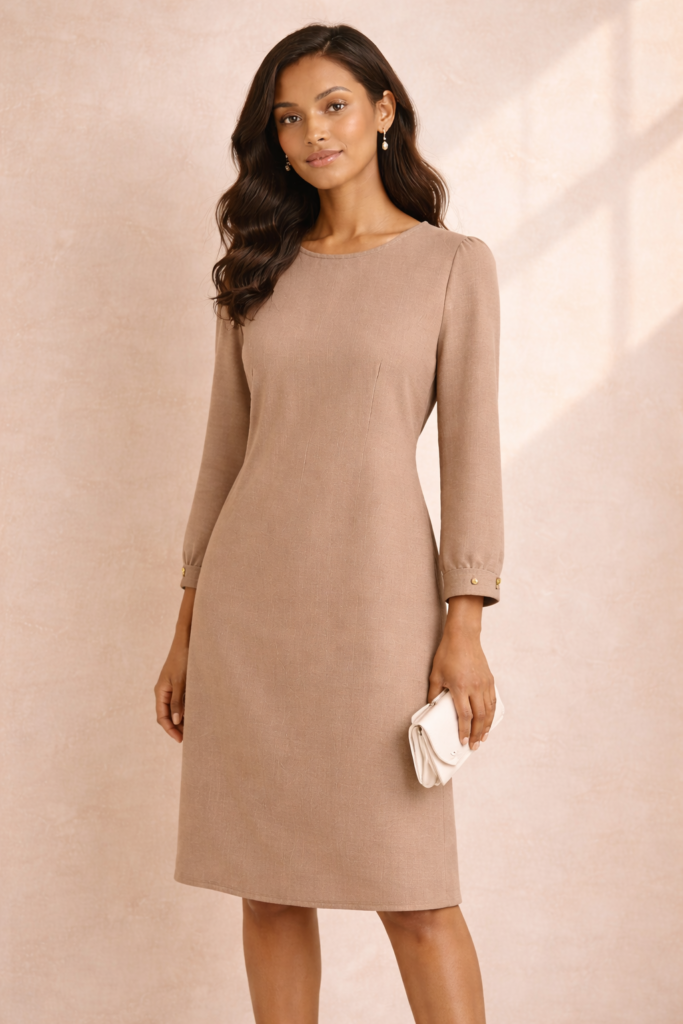
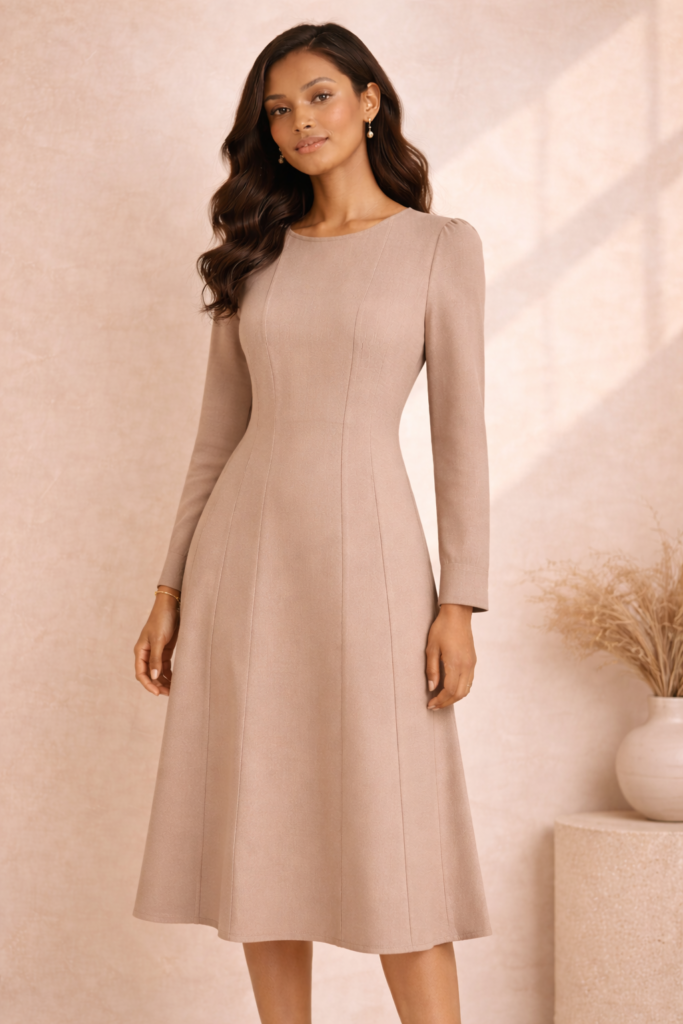
    Look 2: Workwear / Polished

    One Dress, 5 Ways: How to Style a Modest Dress

    Elevate the same dress for a more structured setting.

    Style it with:

    • Lightweight blazer or structured cardigan
    • Closed-toe flats or low heels
    • Structured handbag
    • Simple watch or stud earrings

    Result:
    Professional, clean, and refined without feeling overdone.


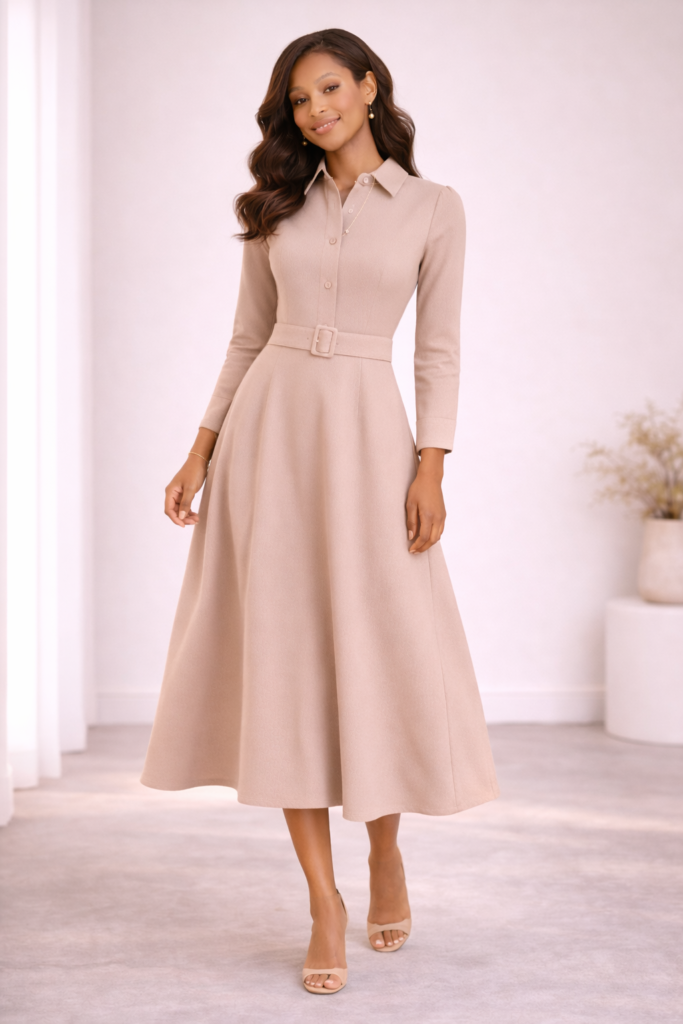
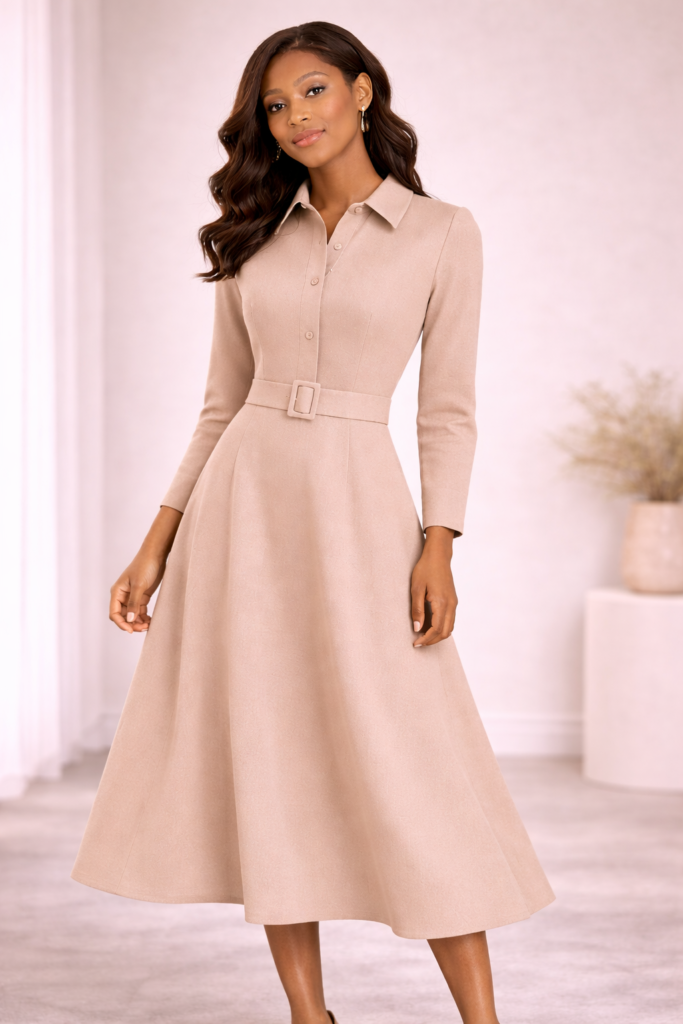
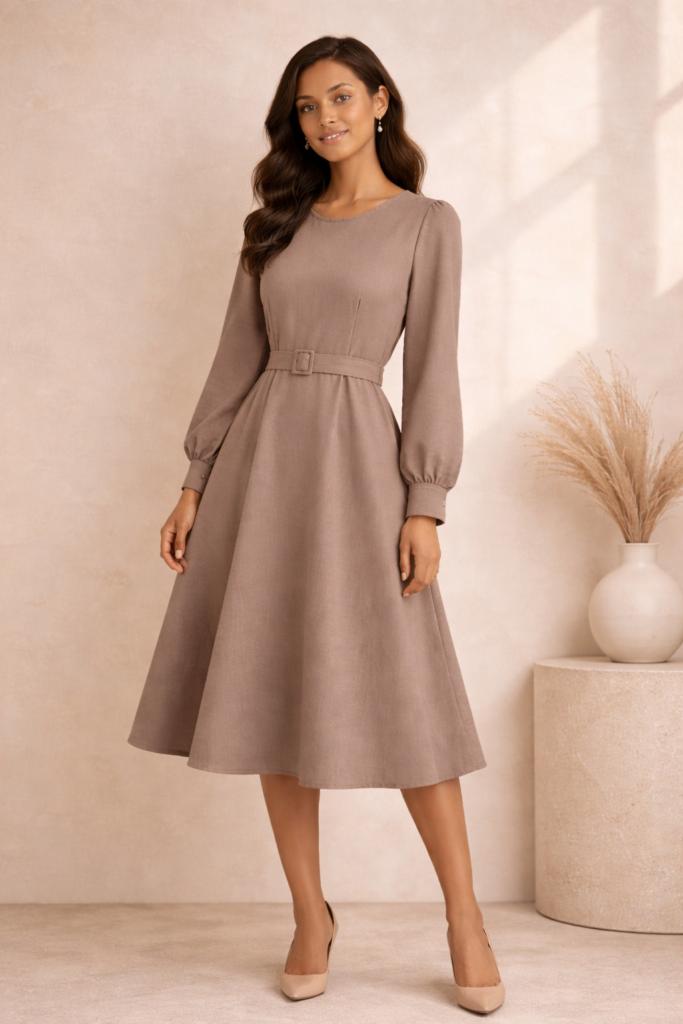
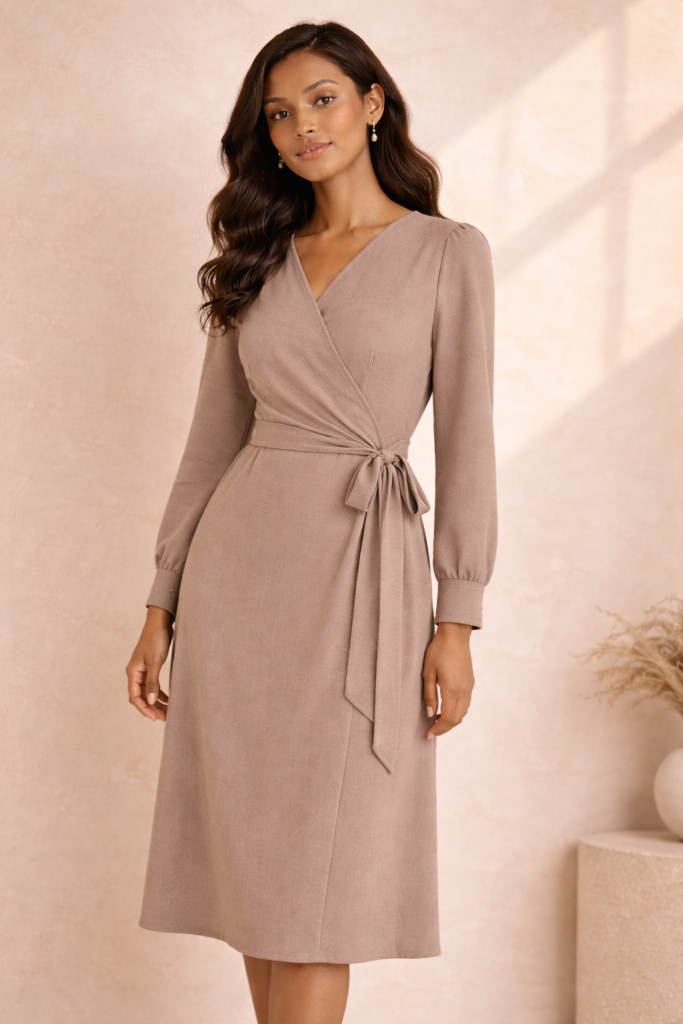
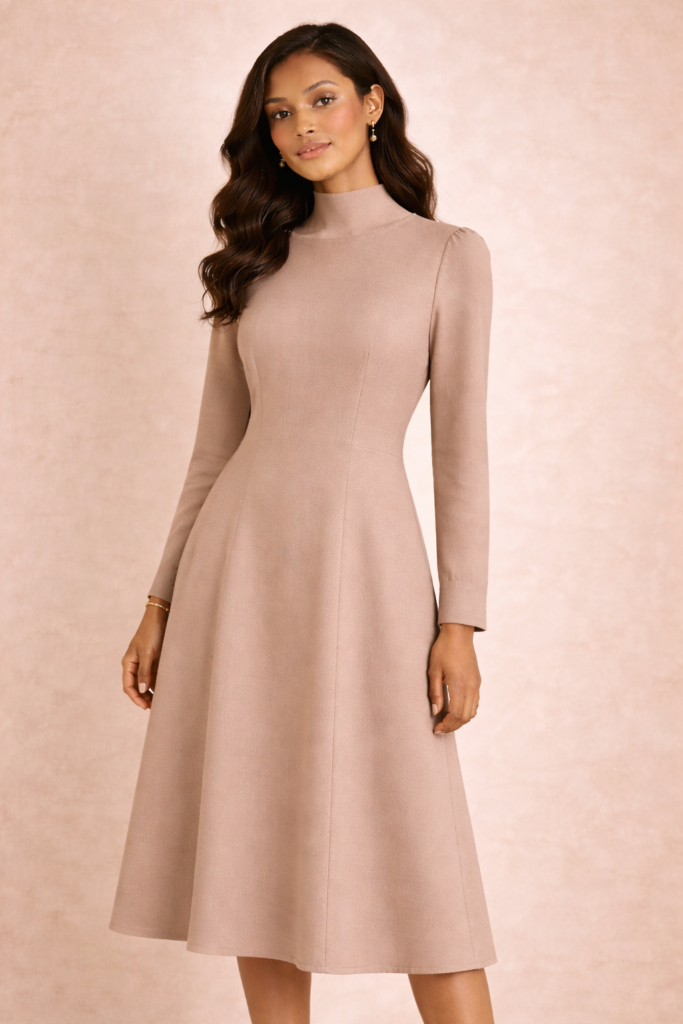
    Look 3: Church or Formal

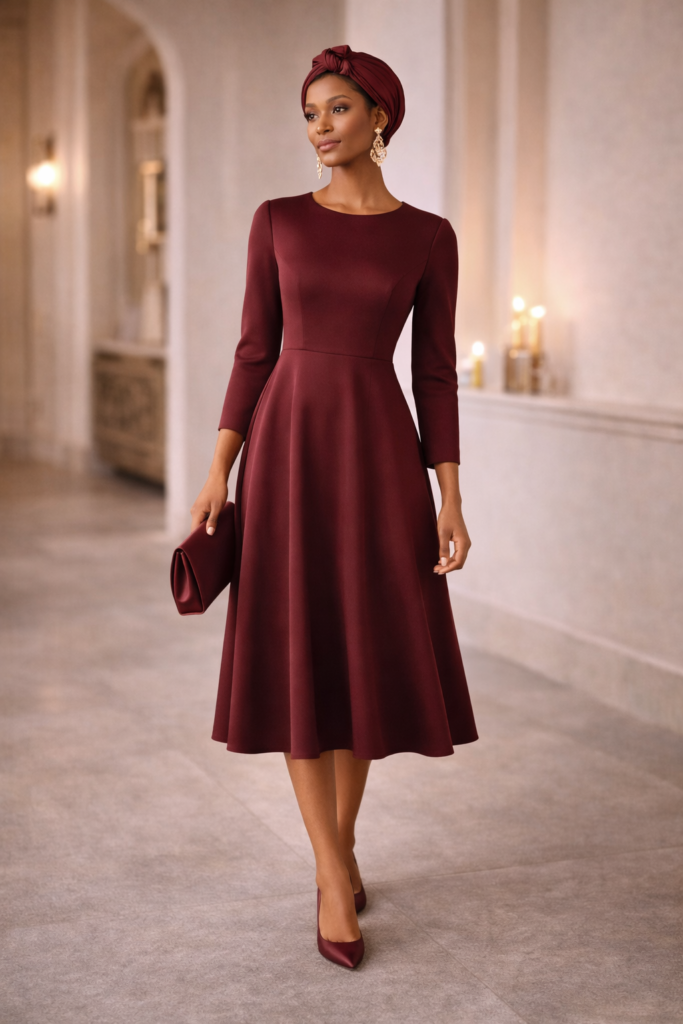
    This look leans into elegance and modest sophistication.

    Style it with:

    • Heeled shoes or elegant flats
    • Statement accessory (necklace or earrings)
    • Structured outer layer or shawl
    • Coordinated bag

    Result:
    Graceful and elevated with minimal effort.


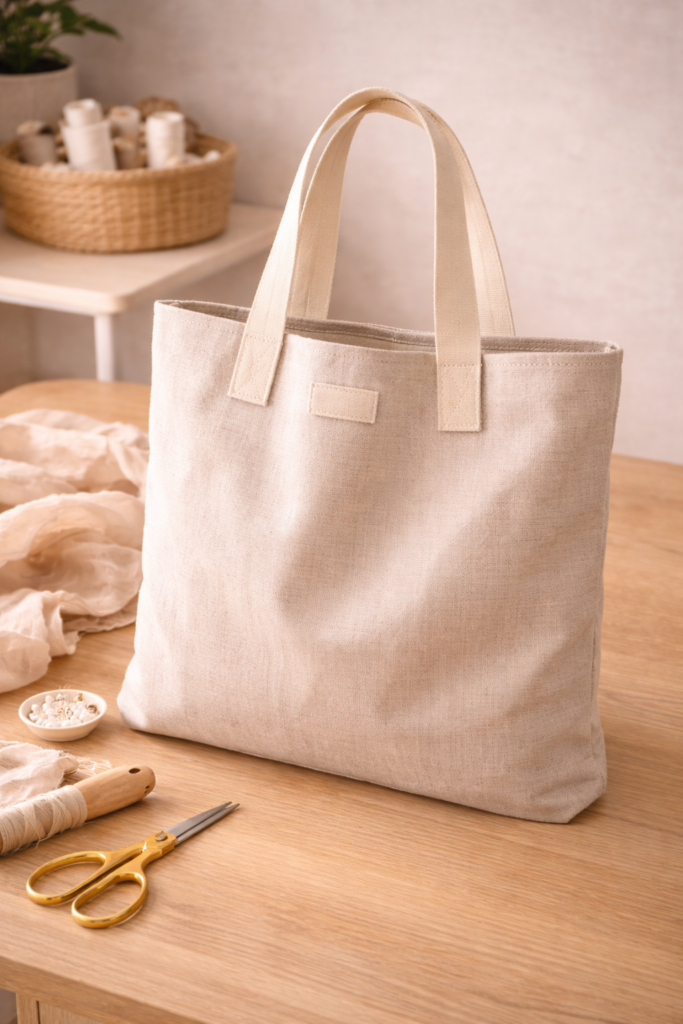
    Look 4: Travel / Errands

    Comfort meets function while still looking styled.

    Style it with:

    • Comfortable sneakers or slip-ons
    • Denim jacket or lightweight layer
    • Tote bag
    • Minimal accessories

    Result:
    Practical, easy to move in, and still polished.


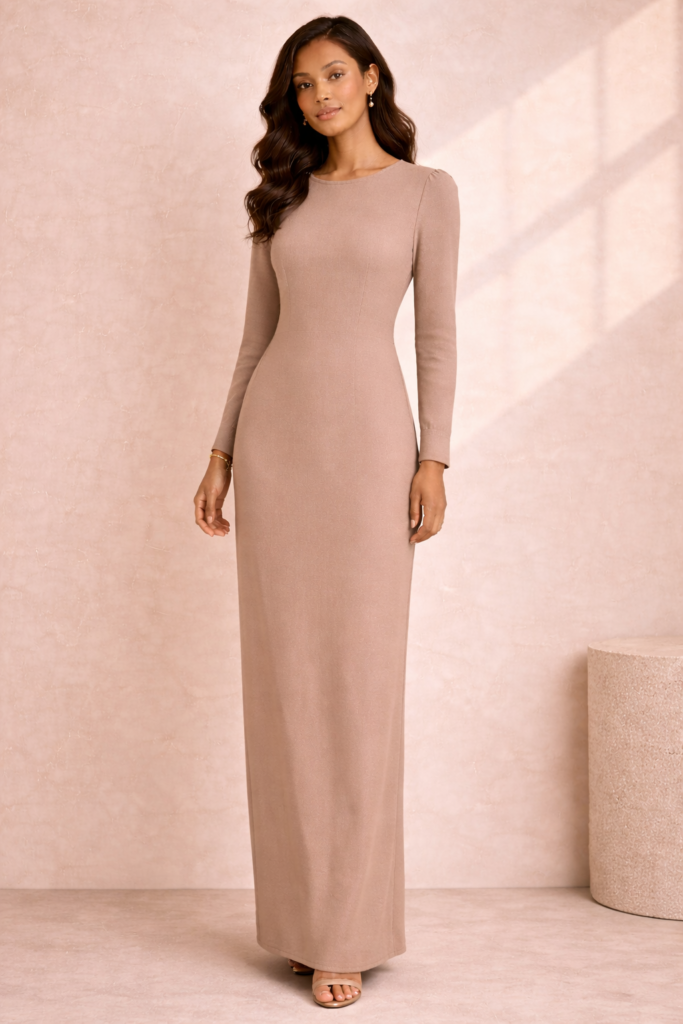
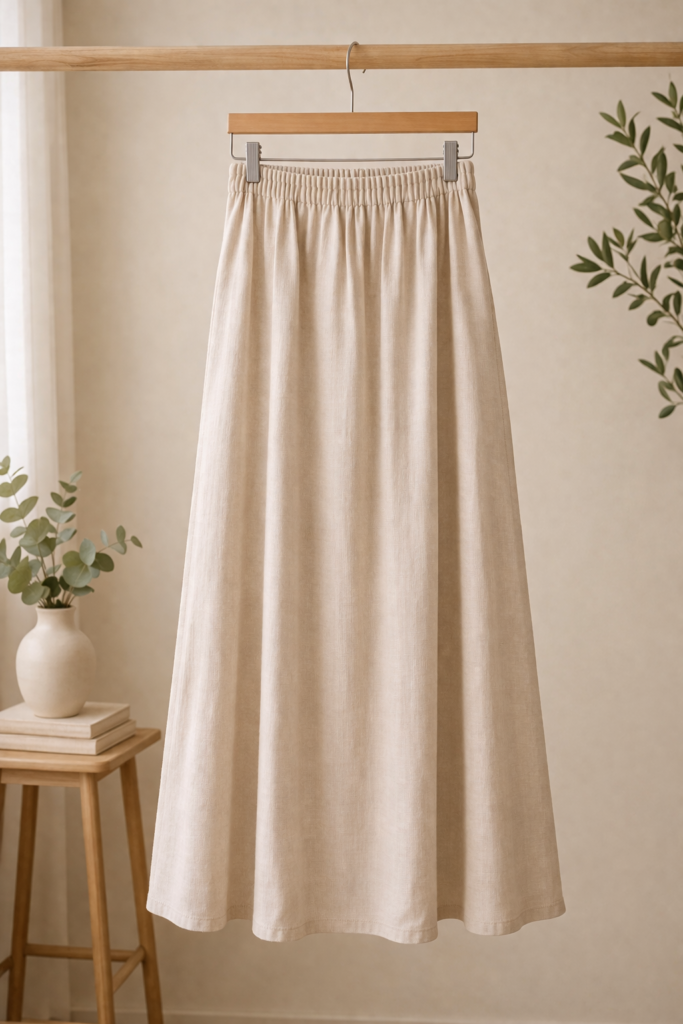
    Look 5: Layered Seasonal (Fall/Winter)

    Extend your dress into cooler seasons.

    Style it with:

    • Knit sweater layered over (turns dress into skirt look)
    • Boots (ankle or knee-high)
    • Coat or long cardigan
    • Scarf or headwrap

    Result:
    Warm, stylish, and completely transformed.


    Key Styling Principles That Make It Work

    No matter the look, these principles keep everything cohesive:

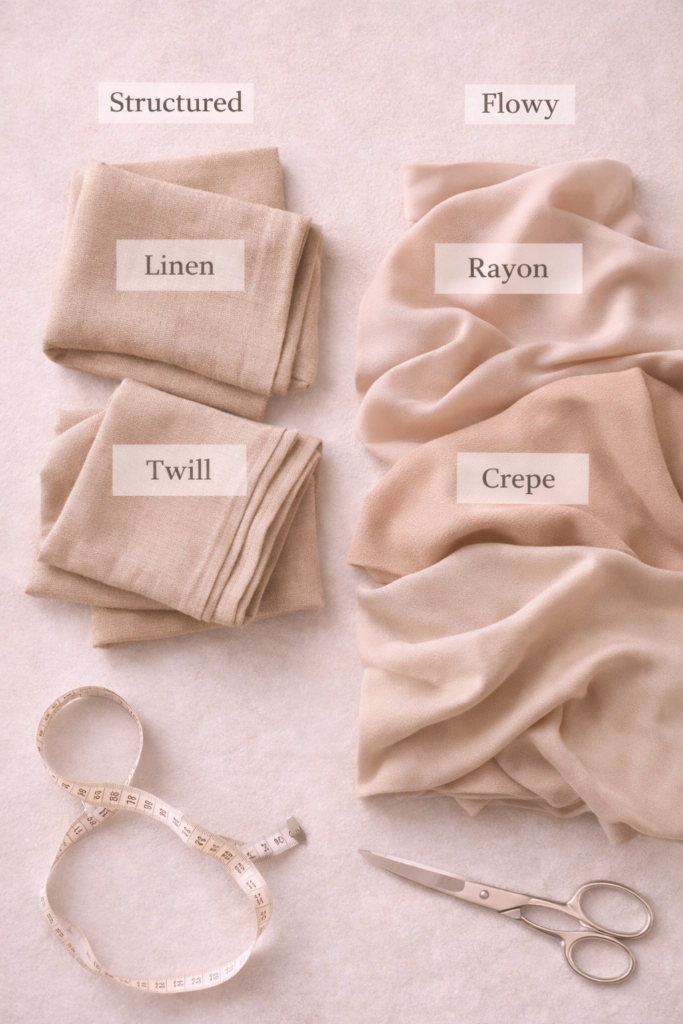
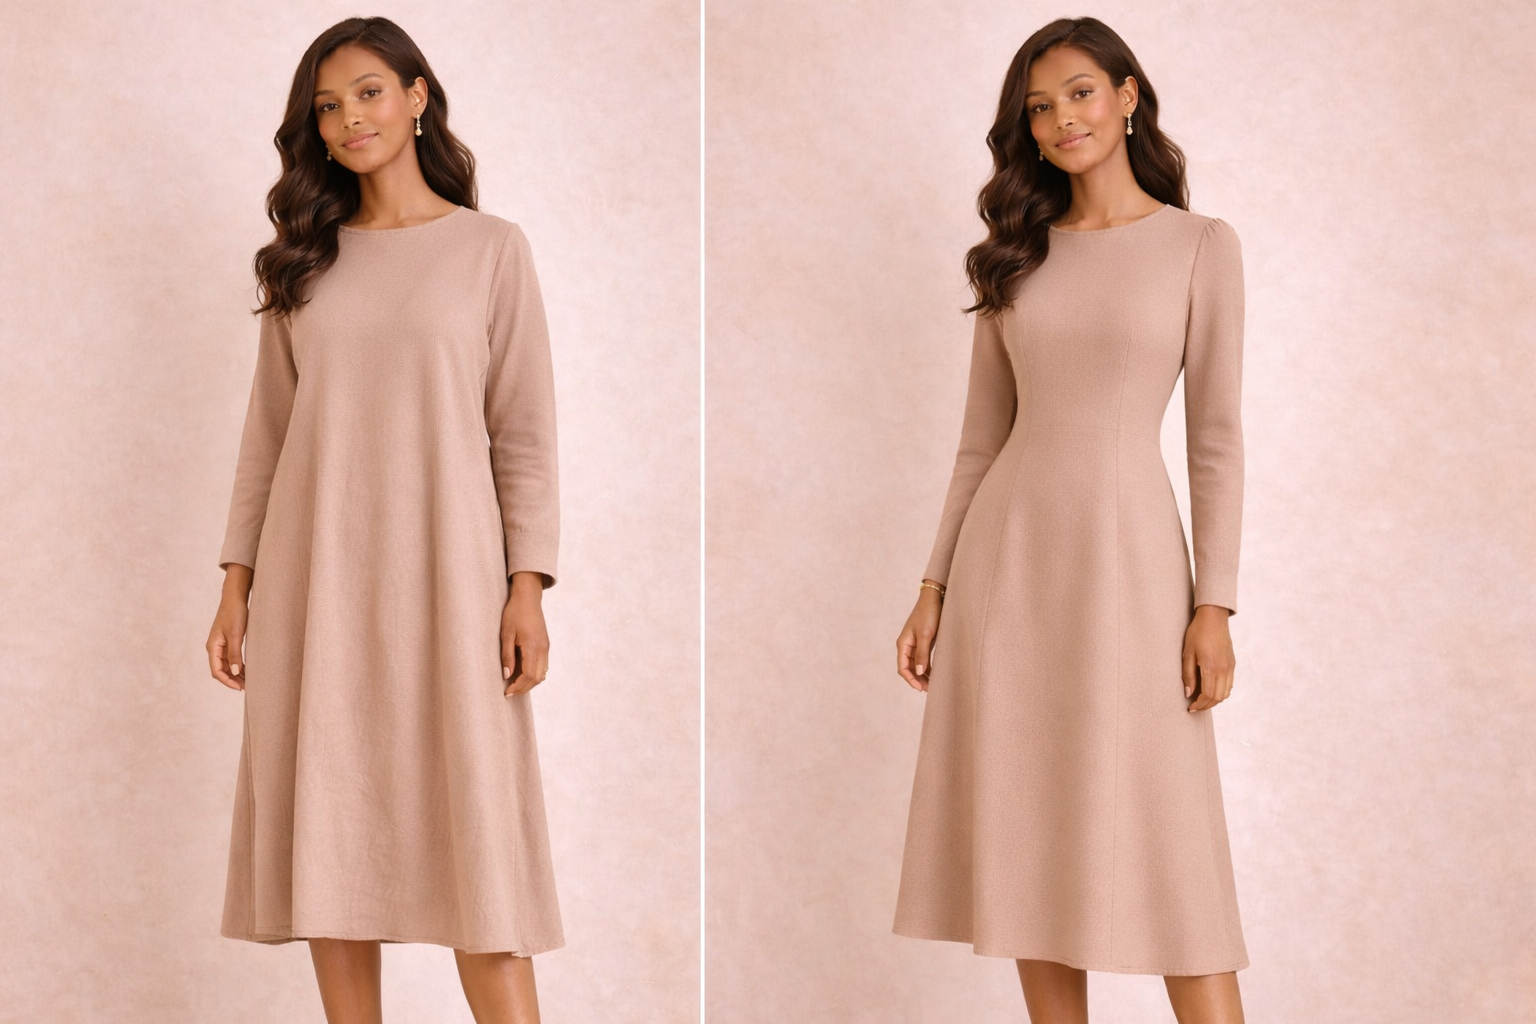
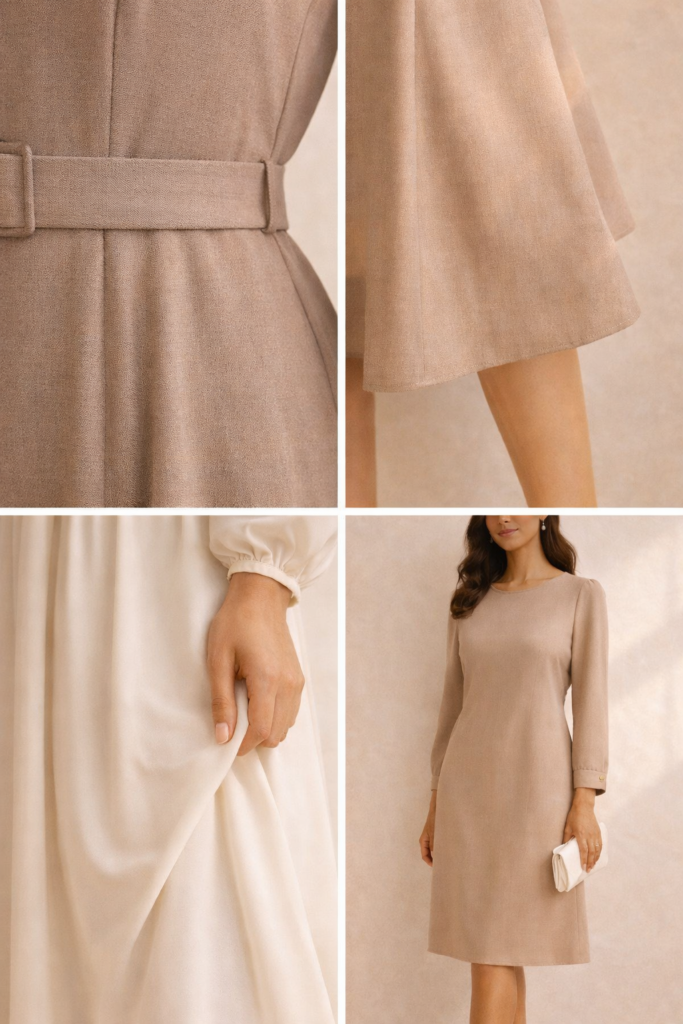
    1. Balance the Silhouette

    If the dress is loose, add structure (belt, blazer).
    If it’s structured, keep accessories minimal.

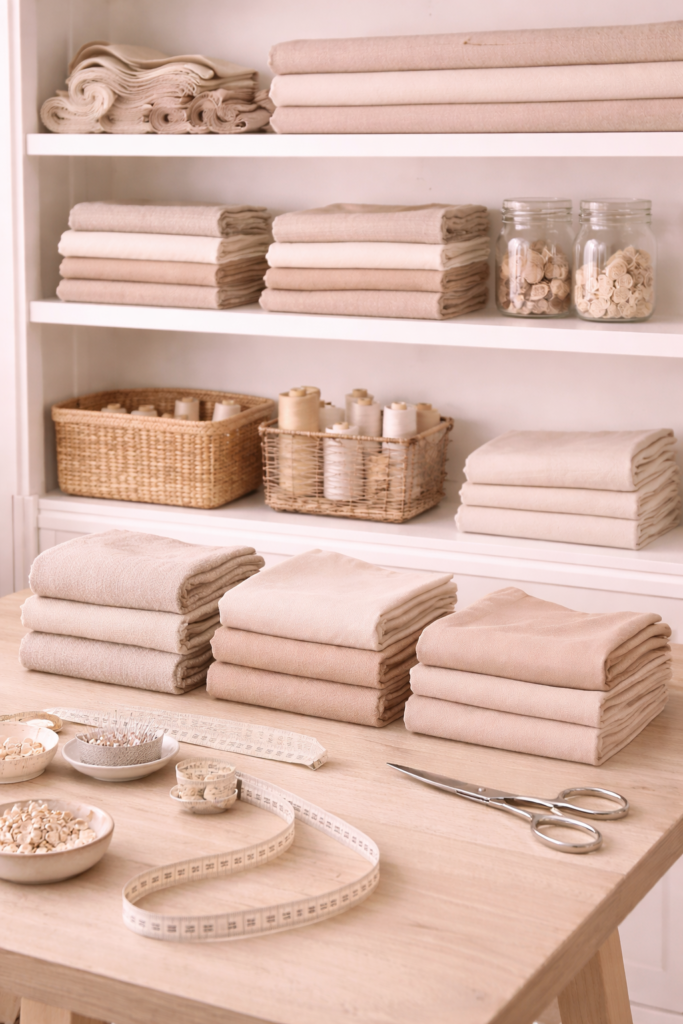
    2. Stick to a Cohesive Color Palette

    Neutral tones make mixing and matching easier.

    3. Layer Intentionally

    Each layer should add purpose — not bulk.

    4. Focus on Proportion

    Keep your outfit visually balanced from top to bottom.


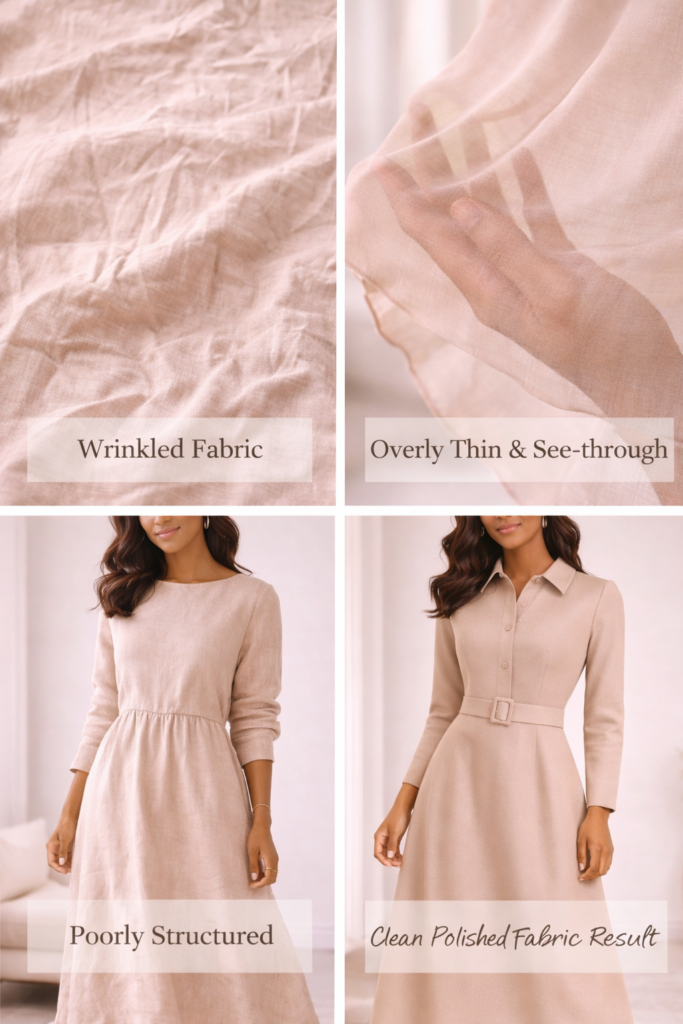
    Common Styling Mistakes to Avoid

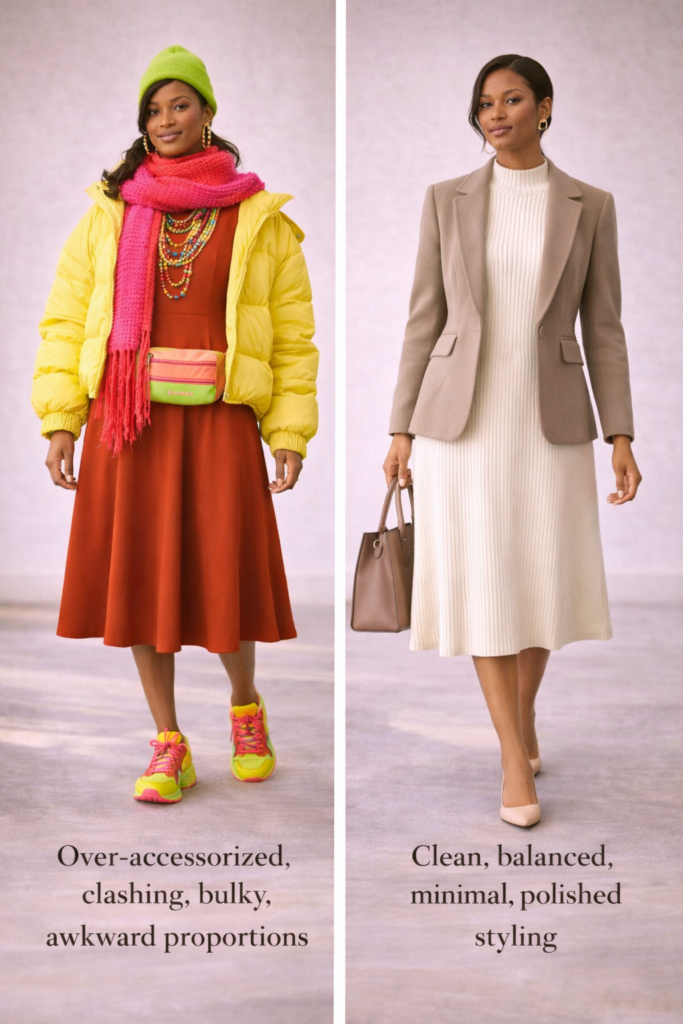
    • Adding too many accessories
    • Mixing too many colors
    • Ignoring proportion
    • Over-layering bulky pieces
    • Choosing the wrong shoes for the look

    Final Takeaway

    One Dress, 5 Ways: How to Style a Modest Dress

    You don’t need a closet full of clothes to look put together.

    With one well-chosen modest dress and a few styling adjustments, you can create multiple looks that feel fresh, intentional, and elevated.

    This is how you build a wardrobe that works smarter — not harder.


    Next Step

    Now that you know how to style one dress multiple ways, the next move is avoiding the common mistakes that can make your outfits look less polished — even when the pieces are right.

  • Best Fabrics for Modest Dresses (What Actually Looks High-End)

    Best Fabrics for Modest Dresses (What Actually Looks High-End)

    If your dresses don’t look as polished as you imagined, the issue may not be your sewing — it’s likely your fabric.

    The truth is, even the simplest dress pattern can look expensive when made with the right material. On the other hand, the wrong fabric can make even a well-sewn garment look cheap.

    This guide breaks down the best fabrics for modest dresses, what makes them look high-end, and how to choose the right one — even as a beginner.


    What Makes a Fabric Look Expensive?

    Before choosing fabric, it’s important to understand what creates that elevated look.

    High-end fabrics typically have:

    • A structured but flexible drape
    • A matte or soft finish (not overly shiny)
    • Enough weight to hold shape
    • Smooth texture with minimal pilling

    Key principle:
    Structure + softness = expensive look


    1. Linen (and Linen Blends)

    Linen is one of the most reliable fabrics for achieving a clean, elevated aesthetic.

    Why it works:

    • Natural texture looks high-end
    • Breathable and comfortable
    • Holds shape while still flowing

    Best for:

    • A-line dresses
    • Shirt dresses
    • Minimalist silhouettes

    Beginner tip:
    Linen wrinkles easily — pressing is essential for a polished finish.


    2. Cotton Twill

    Cotton twill is a beginner-friendly fabric that instantly adds structure.

    Why it works:

    • Slight weight gives the dress shape
    • Easy to sew and control
    • Durable and forgiving

    Best for:

    • Structured midi dresses
    • Shift dresses
    • Everyday modest wear

    3. Crepe (Soft & Structured)

    Crepe offers the perfect balance between softness and polish.

    Why it works:

    • Beautiful drape
    • Subtle texture hides imperfections
    • Looks refined without being stiff

    Best for:

    • Maxi dresses
    • Empire waist styles
    • Flowing modest designs

    4. Rayon (For Movement)

    Rayon is ideal when you want fluid movement without sacrificing elegance.

    Why it works:

    • Drapes beautifully
    • Feels soft and lightweight
    • Creates a graceful silhouette

    Best for:

    • Tiered dresses
    • Wrap-style dresses
    • Relaxed modest looks

    Beginner caution:
    Rayon can be slippery — use pins and take your time.


    5. Ponte Knit (Structured Stretch)

    If you want comfort and structure, ponte knit is a strong choice.

    Why it works:

    • Thick and stable
    • Doesn’t cling too much
    • Easy to wear and move in

    Best for:

    • Fitted modest dresses
    • Workwear styles
    • Minimalist silhouettes

    6. Poplin (Crisp and Clean)

    Poplin gives a sharp, polished look with minimal effort.

    Why it works:

    • Smooth surface
    • Lightweight but structured
    • Holds clean lines well

    Best for:

    • Shirt dresses
    • Summer modest dresses
    • Simple tailored looks

    7. Double Gauze (Soft but Elevated)

    Double gauze is soft, breathable, and surprisingly elegant when styled correctly.

    Why it works:

    • Natural texture adds dimension
    • Comfortable for everyday wear
    • Works well in relaxed silhouettes

    Best for:

    • Casual modest dresses
    • Tiered styles
    • Loose-fitting designs

    Fabrics to Avoid (If You Want a High-End Look)

    Some fabrics tend to make dresses look less polished, especially for beginners.

    Avoid:

    • Very thin, flimsy materials
    • Overly shiny polyester
    • Cheap stretch fabrics that cling
    • Fabrics that wrinkle excessively without structure

    These can make your dress look unfinished — even if your sewing is perfect.


    How to Choose the Right Fabric for Your Dress

    Use this simple framework:

    For structure → cotton twill, ponte, poplin
    For flow → rayon, crepe
    For balance → linen blends

    Ask yourself:

    • Does this fabric hold shape?
    • Does it drape well?
    • Does it look matte or overly shiny?

    Where to Buy Quality Fabric

    If you’re looking for reliable sources, retailers like Mood Fabrics and Joann offer a wide range of beginner-friendly options that still look elevated.

    Focus on quality over quantity — one great fabric is better than several low-quality ones.


    Common Fabric Mistakes Beginners Make

    Avoid these to keep your dresses looking polished:

    • Choosing fabric based only on price
    • Ignoring weight and drape
    • Using the wrong fabric for the pattern
    • Skipping pre-washing
    • Not testing fabric before sewing

    Final Takeaway

    Fabric is the foundation of your dress. It determines how your garment looks, feels, and moves.

    If you want your modest dresses to look high-end, focus on structure, texture, and drape. Pair the right fabric with a simple pattern, and you’ll create pieces that look polished, intentional, and elevated.


    Next Step

    Now that you know which fabrics to use, the next move is learning how to style one dress multiple ways — turning a single piece into a full wardrobe.

  • How to Make a Modest Dress Look Tailored (Without Advanced Skills)

    How to Make a Modest Dress Look Tailored (Without Advanced Skills)

    You don’t need professional-level sewing skills to make your dresses look custom-made. The difference between a dress that looks “homemade” and one that looks high-end comes down to a few intentional techniques.

    This guide breaks down exactly how to elevate any modest dress using beginner-friendly tailoring methods that create structure, polish, and a more expensive overall look.


    What Does “Tailored” Really Mean?

    How to Make a Modest Dress Look Tailored (Without Advanced Skills)

    A tailored dress isn’t necessarily tight or complex — it simply means the garment:

    • Fits your body intentionally
    • Holds its shape
    • Has clean, structured lines
    • Looks polished from every angle

    Even the simplest dress can look high-end when these elements are present.


    1. Focus on Fit First (Even Without Advanced Skills)

    How to Make a Modest Dress Look Tailored (Without Advanced Skills)

    The fastest way to upgrade your dress is improving the fit.

    Beginner-friendly adjustments:

    • Slightly taper the side seams
    • Raise or lower the waistline for balance
    • Adjust sleeve width for a cleaner look

    Why it matters:
    A well-fitted dress instantly looks more expensive — even if the design is simple.


    2. Use Strategic Waist Definition

    How to Make a Modest Dress Look Tailored (Without Advanced Skills)

    Loose dresses can look shapeless unless you define the waist properly.

    Easy techniques:

    • Add an elastic waistband (hidden inside)
    • Use a fabric belt or tie
    • Insert a simple casing for subtle shaping

    Pro tip:
    Avoid overly tight gathers — soft structure looks more elevated.


    3. Upgrade Your Hemline Finish

    One of the biggest giveaways of a beginner garment is the hem.

    High-end hem techniques:

    • Double-fold hem for clean edges
    • Blind hem for invisible finish
    • Add a structured border (like a contrast band or trim)

    Why it matters:
    A crisp hemline creates a polished, professional look.


    4. Choose the Right Fabric (This Changes Everything)

    Fabric can make or break your final result.

    Best beginner-friendly options:

    • Cotton twill (structured but workable)
    • Linen blends (natural and elevated)
    • Crepe (soft but polished)

    Avoid:

    • Thin, clingy fabrics
    • Overly shiny materials

    Key insight:
    Structure = expensive look.


    5. Press Every Step (Not Just at the End)

    This is the most overlooked step — and the most powerful.

    Pressing checklist:

    • Press seams after sewing
    • Press hems before stitching
    • Press the final garment completely

    Result:
    Sharp, clean lines that mimic store-bought quality.


    6. Clean Up Your Seams

    Messy seams instantly lower the quality of your dress.

    Beginner seam upgrades:

    • Zigzag edges to prevent fraying
    • Use pinking shears
    • Try French seams for lightweight fabrics

    Why it matters:
    Even if no one sees the inside, it affects how the garment lays.


    7. Keep the Design Simple

    Overdesigning is one of the fastest ways to lose that elevated look.

    Stick to:

    • Clean silhouettes
    • Minimal seams
    • Neutral color palettes

    Remember:
    Simple + well executed = expensive.


    8. Pay Attention to Proportions

    Balance is everything in modest fashion.

    Key areas to watch:

    • Sleeve length vs dress length
    • Waist placement
    • Skirt volume

    Goal:
    Create harmony in the overall silhouette.


    9. Add Small, Intentional Details

    How to Make a Modest Dress Look Tailored (Without Advanced Skills)

    Details should enhance — not overwhelm.

    Elevated touches:

    • Subtle trim or binding
    • Matching thread color
    • Clean neckline finishes

    Avoid:
    Too many decorative elements competing for attention.


    10. Do a Final Quality Check

    Before calling your dress finished, take a few minutes to review:

    • Are the seams straight?
    • Is the hem even?
    • Does it fit smoothly?
    • Is it fully pressed?

    These small checks create a big difference in the final result.


    Common Mistakes That Ruin the Tailored Look

    Avoid these if you want your dress to look polished:

    • Skipping pressing
    • Using low-quality fabric
    • Uneven stitching
    • Poor fit adjustments
    • Rushing the process

    Final Takeaway

    You don’t need advanced techniques to make a dress look tailored — you need intentional execution.

    Focus on fit, fabric, structure, and finishing. When those are done right, even the simplest modest dress can look refined, polished, and high-end.


    Next Step

    Now that you know how to elevate your dress, the next move is choosing the right fabric to support that look — because even the best technique can’t fix the wrong material.

  • 10 Beginner Modest Dress Patterns That Actually Look Expensive

    10 Beginner Modest Dress Patterns That Actually Look Expensive

    If you’ve ever sewn a dress and thought, “Why doesn’t this look high-end?” — you’re not alone. The truth is, it’s rarely about skill level. It’s about pattern selection, structure, and finishing strategy.

    This guide is designed to help you start smart, choosing beginner-friendly modest dress patterns that look elevated, photograph beautifully, and can even support a monetized sewing workflow.


    What Makes a Dress Look Expensive?

    Before diving into patterns, let’s align on the key design signals that create a premium look:

    • Clean silhouettes (A-line, sheath, empire waist)
    • Longer hemlines (midi to maxi instantly elevates)
    • Intentional seam placement (not overly complex, just strategic)
    • Fabric drape (structure > flimsiness)
    • Minimal clutter (less is more)

    These are the exact principles behind every pattern below.


    1. The Classic A-Line Midi Dress

    Why it looks expensive:
    The A-line silhouette naturally creates balance and structure without requiring advanced tailoring.

    Beginner win:

    • No complicated shaping
    • Forgiving fit
    • Easy hemline control

    Upgrade tip:
    Use medium-weight fabrics like cotton twill or linen blends to hold shape.


    2. The Empire Waist Maxi Dress

    Why it looks expensive:
    The raised waistline elongates the body and creates a soft, elegant drape.

    Beginner win:

    • Minimal fitting required
    • Easy gathering technique
    • Works across body types

    Upgrade tip:
    Choose fabrics with movement (rayon, soft crepe) for that luxury flow.


    3. The Structured Shift Dress

    Why it looks expensive:
    Clean lines + minimal seams = designer-level simplicity.

    Beginner win:

    • Straight seams
    • No waist shaping required
    • Quick construction

    Upgrade tip:
    Focus on perfect pressing — this is what makes or breaks this look.


    4. The Wrap-Style (Modest Adapted) Dress

    Why it looks expensive:
    Wrap styling creates natural tailoring and adjustability.

    Beginner win:

    • Adjustable fit
    • No zipper required
    • Flattering on all body types

    Upgrade tip:
    Modify with a sewn-in panel for full modest coverage.


    5. The Tiered Midi Dress

    Why it looks expensive:
    Layering adds dimension without complexity.

    Beginner win:

    • Repetitive construction (easy to learn)
    • No advanced fitting
    • Great for lightweight fabrics

    Upgrade tip:
    Keep tiers subtle — oversized tiers can look bulky instead of elevated.


    6. The Button-Front Shirt Dress

    Why it looks expensive:
    It mimics ready-to-wear tailoring.

    Beginner win (modified version):

    • Skip collar complexity (use a band collar)
    • Straight seams dominate construction

    Upgrade tip:
    Use contrast buttons for a polished, intentional finish.


    7. The Elastic Waist Maxi Dress

    Why it looks expensive:
    Soft structure + defined waist = effortless polish.

    Beginner win:

    • No zipper
    • Simple waistband construction
    • Comfortable and wearable

    Upgrade tip:
    Use hidden elastic (encased) instead of exposed bands.


    8. The Paneled Dress (Vertical Seams)

    Why it looks expensive:
    Vertical seams create a tailored, elongating effect.

    Beginner win:

    • Straight seams
    • No darts required (in many versions)

    Upgrade tip:
    Use contrasting panels subtly for a designer feel.


    9. The High-Neck Minimalist Dress

    Why it looks expensive:
    High necklines instantly communicate sophistication.

    Beginner win:

    • Simple bodice
    • Clean finish techniques

    Upgrade tip:
    Stabilize the neckline properly to avoid stretching.


    10. The Straight Maxi Column Dress

    Why it looks expensive:
    This is the ultimate minimalist statement.

    Beginner win:

    • Straight seams only
    • No shaping required

    Upgrade tip:
    Add a back slit for movement while keeping the silhouette clean.


    Fabric Matters More Than You Think

    Choosing the right fabric can elevate even the simplest pattern. Retailers like Mood Fabrics and Joann offer beginner-friendly options that still give a high-end finish.

    Look for:

    • Medium weight (not flimsy)
    • Matte finishes (less shine = more expensive look)
    • Soft structure (holds shape but moves naturally)

    Common Beginner Mistakes That Make Dresses Look Cheap

    Avoid these if you want your dress to look polished:

    • Skipping pressing between steps
    • Using fabric that’s too thin
    • Uneven hems
    • Rushing seam finishes
    • Overcomplicating the design

    Final Takeaway

    You don’t need advanced skills to create a dress that looks expensive — you need the right pattern, the right fabric, and intentional finishing.

    Start with one of the patterns above, focus on clean execution, and you’ll not only improve your sewing — you’ll create pieces that look like they came straight from a boutique.


    Next Step

    If you’re ready to take this further, your next move is building a signature piece you can style multiple ways. That’s where your content — and your monetization — really starts to scale.

  • Best Sewing Tools for Beginners (What You Actually Need to Start)

    Best Sewing Tools for Beginners (What You Actually Need to Start)

    Starting sewing can feel overwhelming—especially when you see long lists of tools that make it seem like you need everything before you begin.

    The truth is, you don’t need a fully stocked studio. You just need the right tools to get started confidently.

    This guide will walk you through exactly what you need, what you can skip, and how to build a simple toolkit that actually works.

    The Essential Sewing Tools Every Beginner Needs

    Let’s start with the basics—the tools that will make the biggest difference in your results.

    1. Sewing Machine

    Your sewing machine is the foundation of everything you create.

    • Choose a beginner-friendly model
    • Look for simple stitch options
    • Avoid overly complex machines

    👉 Recommended machine: Shop sewing machine

    Pro Tip: Practice stitching on scrap fabric before starting your project.

    2. Fabric Scissors

    Fabric scissors are one of the most important tools you’ll own.

    • Ensure clean, precise cuts
    • Prevent frayed edges
    • Improve overall sewing quality

    Important: Never use fabric scissors for paper.

    3. Measuring Tape

    Accurate measurements are essential for a good fit.

    • Use flexible measuring tape
    • Measure before cutting
    • Follow pattern sizing

    4. Pins and Seam Ripper

    These tools help you maintain control and fix mistakes.

    • Pins hold fabric in place
    • Seam rippers remove stitches cleanly

    👉 Get both here: Shop dressmaking kit

    5. Thread

    Thread might seem simple, but it plays a big role in your results.

    • Use quality thread
    • Match thread color to fabric
    • Avoid cheap thread that breaks easily

    Tools That Make Sewing Easier (Optional but Helpful)

    Once you’re comfortable, these tools can improve your workflow.

    • Rotary cutter for faster cutting
    • Cutting mat for protection
    • Pattern weights for stability

    Tools You Don’t Need Right Away

    Don’t waste money on tools you won’t use yet.

    • Advanced presser feet
    • Expensive cutting machines
    • Specialty rulers

    Focus on mastering the basics first.

    How to Build Your Sewing Toolkit Over Time

    You don’t need everything at once.

    • Start with essentials
    • Add tools as your skills grow
    • Invest in quality over quantity

    This approach saves money and keeps your setup simple.

    Common Beginner Tool Mistakes

    Buying too many tools too early
    Stick to essentials first.

    Using low-quality tools
    Cheap tools often create more problems.

    Not maintaining tools
    Keep scissors sharp and machines clean.

    Pro Tips for Better Results

    • Keep your tools organized
    • Replace needles regularly
    • Use the right tool for each task
    • Maintain your sewing machine

    Final Thoughts

    Sewing doesn’t require a massive investment—it requires the right foundation.

    With a few essential tools and consistent practice, you can start creating pieces that feel polished and intentional.

    Start simple, build over time, and enjoy the process.

    Affiliate Disclosure: This post may contain affiliate links. If you purchase through these links, we may earn a small commission at no extra cost to you.

  • 7 Easy Sewing Projects for Beginners (Start Today)

    7 Easy Sewing Projects for Beginners (Start Today)

    Starting your sewing journey can feel overwhelming—but it doesn’t have to be.

    The key to building confidence quickly is choosing the right projects. When you start with simple, achievable designs, you learn foundational skills without frustration or burnout.

    Instead of jumping into complicated garments, these beginner-friendly sewing projects are designed to help you:

    • build essential skills
    • understand fabric behavior
    • gain confidence with your sewing machine
    • create items you can actually use or wear

    Let’s walk through seven projects that will set you up for success.

    1. Simple Tote Bag

    A tote bag is one of the best beginner projects because it teaches the most important sewing fundamentals in a simple format.

    You’ll learn:

    • how to sew straight seams
    • how to handle fabric evenly
    • how to reinforce straps

    This project is forgiving, practical, and quick to complete—making it perfect for your first or second sewing attempt.

    Pro Tip: Choose medium-weight cotton fabric so the bag holds its shape but is still easy to sew.

    Common mistake: Uneven seams. Go slow and guide the fabric instead of pulling it.

    2. Pillow Cover

    Pillow covers are ideal for practicing clean edges and consistent seam allowances.

    Because they use simple rectangular shapes, you can focus on improving your technique instead of worrying about complex construction.

    You’ll learn:

    • how to align fabric properly
    • how to sew corners cleanly
    • how to finish seams neatly

    Pro Tip: Press your seams with an iron as you go. This instantly makes your project look more professional.

    Why this matters: Pressing is one of the biggest differences between beginner and polished results.

    3. Elastic Waist Skirt

    This is your first step into wearable sewing—and it’s easier than you think.

    An elastic waist skirt removes the need for zippers or complex fitting, making it perfect for beginners.

    You’ll learn:

    • how to create a waistband casing
    • how to insert elastic
    • how to sew longer seams evenly

    Pro Tip: Use breathable, beginner-friendly fabrics like cotton.

    👉 Explore beginner-friendly fabric: Shop fabric options

    Common mistake: Twisting the elastic inside the casing. Always secure it before closing.

    4. Headwrap or Scarf

    This is one of the fastest projects you can complete—and it builds confidence quickly.

    It’s perfect for practicing:

    • cutting fabric accurately
    • hemming edges
    • working with lightweight materials

    This project also allows you to experiment with different fabrics and styles without a large commitment.

    Pro Tip: Start with stable fabric before trying slippery materials like satin.

    5. Basic Apron

    An apron introduces slightly more complexity while still being beginner-friendly.

    You’ll learn:

    • how to attach straps
    • how to shape fabric
    • how to sew multiple components together

    This project is great for building confidence and preparing for more advanced garments.

    Tip: Focus on clean stitching—this project is very visible when worn.

    6. Drawstring Bag

    This project teaches an important sewing technique: creating a casing.

    You’ll learn:

    • how to create channels for drawstrings
    • how to thread fabric through openings
    • how to finish edges cleanly

    It’s simple, practical, and a great way to practice precision.

    Pro Tip: Use a safety pin to easily guide the drawstring through the casing.

    7. Simple Modest Dress (Beginner Version)

    Once you’ve completed a few smaller projects, you’re ready to try a basic dress.

    This is where everything comes together:

    • cutting pattern pieces
    • sewing structured seams
    • assembling a full garment

    Start with a simple, modest silhouette that doesn’t require advanced techniques.

    👉 Get beginner tools: Shop dressmaking kit

    Pro Tip: Take your time and follow each step carefully—this is where your skills really develop.

    Tips for Success (Read This Before You Start)

    • Start with simple projects before moving up
    • Practice stitches on scrap fabric first
    • Always measure before cutting
    • Use beginner-friendly fabrics
    • Don’t rush—accuracy matters more than speed

    These small habits will dramatically improve your results.

    Final Thoughts

    Sewing is a skill that grows with every project you complete.

    The goal isn’t perfection—it’s progress.

    Start with these simple projects, build your confidence, and enjoy the process of creating something with your own hands.

    Affiliate Disclosure: This post may contain affiliate links. If you purchase through these links, we may earn a small commission at no extra cost to you.

  • How to Set Up a Sewing Space at Home (Even in a Small Area)

    How to Set Up a Sewing Space at Home (Even in a Small Area)

    Setting up your sewing space doesn’t have to be complicated—or expensive.

    Whether you’re working with a full room or just a small corner, the right setup can make sewing easier, more enjoyable, and far more productive.

    The goal isn’t perfection—it’s creating a space that works for you.

    What You Actually Need to Start

    You don’t need a full studio to begin. Start with the essentials:

    • A stable table or desk
    • A reliable sewing machine
    • Basic sewing tools
    • Good lighting

    👉 Recommended setup tools: Shop beginner sewing machine

    👉 Essentials kit: Shop dressmaking kit

    Pro Tip: Start simple. You can always upgrade your space later.

    Choosing the Right Location

    Your sewing space should feel comfortable and distraction-free.

    • Choose a quiet corner if possible
    • Use natural light when available
    • Avoid cramped or cluttered areas

    Tip: Even a small corner of your room can become a functional sewing area with the right setup.

    Small Space Sewing Setup Tips

    If you don’t have a dedicated room, don’t worry—you can still create an effective setup.

    • Use a foldable table
    • Store tools in bins or drawers
    • Keep only what you use daily nearby

    Pro Tip: Vertical storage (shelves, wall hooks) saves space and keeps everything within reach.

    Lighting Matters More Than You Think

    Good lighting can dramatically improve your sewing accuracy.

    • Use natural light during the day
    • Add a desk lamp for detail work
    • Avoid shadows over your sewing area

    Tip: Position your light source from the side—not directly behind you.

    Organizing Your Sewing Tools

    An organized space makes sewing faster and less stressful.

    • Keep scissors, pins, and tape within reach
    • Use small containers for tools
    • Store fabric separately to avoid clutter

    Pro Tip: Assign a place for every tool—this saves time and reduces frustration.

    Fabric Storage Tips

    Fabric can quickly become overwhelming if not stored properly.

    • Fold fabric neatly
    • Store by type or color
    • Avoid stacking too high

    👉 Explore beginner-friendly fabrics: Shop fabric options

    Tip: Keep your current project fabric separate from the rest.

    Common Setup Mistakes to Avoid

    Overcrowding your space
    Too many tools make it harder to focus.

    Poor lighting
    This leads to mistakes and eye strain.

    Unstable table
    This affects stitch quality and control.

    No organization system
    Wasting time searching for tools slows your progress.

    Small Habits That Improve Your Setup

    • Clean your space after each session
    • Prepare tools before starting
    • Keep your workspace clear while sewing
    • Organize materials before cutting

    These habits create a smoother, more enjoyable sewing experience.

    Final Thoughts

    Your sewing space doesn’t need to be perfect—it just needs to work for you.

    Start with the basics, stay organized, and build your setup over time.

    The more comfortable your space feels, the more confident you’ll become in your sewing.

    Affiliate Disclosure: This post may contain affiliate links. If you purchase through these links, we may earn a small commission at no extra cost to you.

  • How to Read a Sewing Pattern (Beginner Friendly Guide)

    How to Read a Sewing Pattern (Beginner Friendly Guide)

    If you’ve ever opened a sewing pattern and felt instantly overwhelmed, you’re not alone.

    Patterns can look confusing, technical, and even intimidating at first glance. But once you understand how they work, everything begins to click—and your confidence grows quickly.

    This guide breaks everything down in a simple, beginner-friendly way so you can go from confused to confident.

    What Is a Sewing Pattern?

    How to Read a Sewing Pattern

    A sewing pattern is your blueprint. It shows you exactly how to turn fabric into a finished garment.

    Most patterns include:

    • Pattern pieces (the shapes you cut out)
    • Step-by-step instructions
    • Markings and symbols
    • Fabric recommendations

    Think of it like a roadmap: if you follow it correctly, you’ll get to your final result much faster and with fewer mistakes.

    Understanding Pattern Pieces

    How to Read a Sewing Pattern

    Each pattern piece represents a section of your garment.

    • Front bodice
    • Back bodice
    • Sleeves
    • Skirt panels

    Pro Tip: Before cutting anything, take a moment to identify each piece and understand where it belongs.

    Beginner Mistake: Cutting the wrong size or forgetting to cut mirrored pieces. Always check if the pattern says “cut 2” or “cut on fold.”

    Understanding “Cut on Fold”

    This is one of the most common areas beginners get confused.

    When a pattern says “cut on fold”, it means:

    • You fold your fabric in half
    • You place the pattern edge along the fold
    • You cut around the rest of the piece

    This creates a perfectly symmetrical piece when unfolded.

    Tip: Always align the fold edge precisely—misalignment can distort your entire garment.

    Key Pattern Symbols You Must Know

    How to Read a Sewing Pattern

    These markings may look small, but they are extremely important.

    • Grainline: shows how to align fabric for proper drape
    • Notches: small marks that help match pieces together
    • Darts: folds that shape the garment to your body
    • Fold Line: indicates where fabric should be folded

    Pro Tip: Transfer markings to your fabric using chalk or pins. Skipping this step can make sewing much harder later.

    How to Choose the Right Size

    Sewing sizes are different from store sizes.

    Instead of guessing, always:

    • Measure your bust, waist, and hips
    • Compare your measurements to the pattern chart
    • Select based on measurements—not assumptions

    Tip: If you’re between sizes, choose the larger one. It’s easier to take fabric in than let it out.

    Reading the Instructions (The Right Way)

    Instructions are often skipped—but they are one of your most valuable tools.

    • Read the entire pattern before starting
    • Understand the sequence of steps
    • Take note of unfamiliar terms

    Pro Tip: Read once before cutting, then again before sewing. This prevents costly mistakes.

    Tools That Make Pattern Reading Easier

    Having the right tools simplifies the process dramatically.

    • Measuring tape for accuracy
    • Sharp fabric scissors for clean cuts
    • Pins to keep pieces aligned

    👉 Get essentials here: Shop dressmaking kit

    Common Beginner Mistakes (And Fixes)

    Skipping measurements
    Fix: Always measure before choosing a size.

    Ignoring grainline
    Fix: Align fabric correctly to avoid twisting or distortion.

    Cutting too quickly
    Fix: Slow down and double-check placement before cutting.

    Not marking fabric
    Fix: Transfer notches and darts to guide your sewing.

    Pro Tips That Instantly Improve Your Results

    • Use pattern weights instead of holding pieces by hand
    • Cut on a flat, stable surface
    • Keep pattern pieces organized as you work
    • Label pieces after cutting to avoid confusion
    • Always double-check before sewing each step

    These habits create cleaner, more professional results.

    Building Confidence with Patterns

    At first, patterns may feel like a lot—but with each project, they become easier to understand.

    The key is consistency. The more you practice, the more natural it becomes.

    Start simple, take your time, and trust your progress.

    Final Thoughts

    Reading a sewing pattern is a skill—and like any skill, it improves with practice.

    Once you understand how patterns work, you unlock the ability to create your own garments with confidence and intention.

    Take your time, follow each step carefully, and enjoy the process.

    Affiliate Disclosure: This post may contain affiliate links. If you purchase through these links, we may earn a small commission at no extra cost to you.

  • How to Choose the Right Fabric for Your First Dress (Beginner Guide)

    How to Choose the Right Fabric for Your First Dress (Beginner Guide)

    One of the biggest mistakes beginners make isn’t in the sewing—it’s in the fabric.

    You can follow every step correctly, but if your fabric is difficult to work with, your final result will still feel off.

    The good news? Once you understand a few key things, choosing fabric becomes simple—and your results improve instantly.

    Why Fabric Choice Matters

    How to Choose the Right Fabric

    Fabric determines how your dress will:

    • fit on the body
    • hold its shape
    • move and drape
    • look when finished

    Even the same pattern can look completely different depending on the fabric you choose.

    Best Fabrics for Beginners

    How to Choose the Right Fabric

    1. Cotton

    Cotton is one of the easiest fabrics to work with.

    • doesn’t slip while sewing
    • holds its shape well
    • easy to cut and measure

    👉 Explore beginner-friendly options: Shop fabric options

    2. Linen Blends

    Linen blends give a more elevated, structured look while still being manageable.

    Tip: Pure linen wrinkles easily—blends are more forgiving.

    3. Medium-Weight Fabrics

    Look for fabrics that aren’t too thin or too thick.

    • too thin = hard to control
    • too thick = difficult to sew

    Fabrics to Avoid as a Beginner

    Silk & Satin

    Beautiful—but very slippery and hard to control.

    Stretch Fabrics

    These require special techniques and can easily distort.

    Heavy Denim

    Too thick for most beginner machines and difficult to sew cleanly.

    How to Test Fabric Before You Buy

    How to Choose the Right Fabric

    Before committing to a fabric, try this:

    • Hold it up — does it drape or stay stiff?
    • Scrunch it — does it wrinkle badly?
    • Fold it — does it hold structure?

    These small checks tell you how the fabric will behave when sewn.

    Pro Tips That Make a Huge Difference

    • Always pre-wash your fabric before sewing
    • Use matching thread for a cleaner finish
    • Cut fabric on a flat, stable surface
    • Use sharp scissors for clean edges

    👉 Get essential tools here: Shop dressmaking kit

    Common Beginner Mistakes

    Choosing fabric based on looks only
    Always consider how it behaves, not just how it looks.

    Skipping pre-wash
    This can cause shrinking after your piece is finished.

    Ignoring pattern recommendations
    Patterns are designed with certain fabrics in mind.

    Final Thoughts

    Choosing the right fabric is one of the fastest ways to improve your sewing results.

    When you start with beginner-friendly materials, everything becomes easier—and your finished pieces look more polished and intentional.

    Affiliate Disclosure: This post may contain affiliate links. If you purchase through these links, we may earn a small commission at no extra cost to you.

  • Beginner Sewing Tools You Actually Need (And What to Skip)

    Beginner Sewing Tools You Actually Need (And What to Skip)

    Starting your sewing journey can feel overwhelming—especially when you’re faced with long lists of tools you “need” before you even begin.

    The truth is, you don’t need everything.

    You just need the right tools—and more importantly, the right approach—to start creating with confidence.

    This guide will walk you through the essentials, what to skip, and the small tips that make a huge difference in how your final pieces turn out.

    The Core Tools Every Beginner Needs

    Beginner Sewing Tools You Actually Need (And What to Skip)

    1. A Reliable Sewing Machine

    Your sewing machine is your foundation. It doesn’t need to be expensive—it needs to be consistent and beginner-friendly.

    • Look for simple stitch options
    • Avoid overly complex machines at the beginning
    • Focus on smooth, even stitching

    👉 Recommended option: Shop beginner sewing machine

    Pro Tip: Always test your stitch on scrap fabric before starting your project. This prevents uneven seams and wasted fabric.

    2. Fabric Scissors (Your Secret Weapon)

    Fabric scissors are non-negotiable.

    Using dull or multipurpose scissors can cause jagged edges, which leads to poor sewing results.

    👉 Recommended: Shop dressmaking essentials kit

    Pro Tip: Never use your fabric scissors on paper. Even once can dull the blade significantly.

    3. Measuring Tape

    Good sewing is all about accuracy.

    • Measure twice, cut once
    • Always recheck measurements before cutting fabric

    👉 Included here: Shop dressmaking kit

    Pro Tip: Write your measurements down. Guessing leads to poor fit and wasted fabric.

    4. Pins & Seam Ripper

    These two tools will save you again and again.

    • Pins keep your fabric aligned
    • Seam rippers fix mistakes cleanly

    👉 Get both here: Shop essentials kit

    Pro Tip: Place pins perpendicular to the seam—it makes sewing smoother and safer.

    5. The Right Fabric

    Fabric choice is one of the biggest factors in how “professional” your final piece looks.

    • Start with medium-weight fabrics
    • Avoid slippery or stretchy fabrics at first
    • Choose materials that hold structure

    👉 Recommended fabrics: Shop fabric options

    Pro Tip: Wash and dry your fabric before sewing. This prevents shrinking after your piece is finished.

    Common Beginner Mistakes (And How to Fix Them)

    Beginner Sewing Tools You Actually Need (And What to Skip)

    Skipping the Iron

    Pressing your seams is what separates beginner work from polished results.

    Fix: Press every seam as you go. It makes your final piece look professionally made.

    Rushing Through Cuts

    Uneven cuts = uneven sewing.

    Fix: Take your time cutting fabric. This step affects everything else.

    Using the Wrong Needle

    Different fabrics need different needles.

    Fix: Use universal needles for most beginner fabrics and change them regularly.

    Not Practicing First

    Jumping straight into your project can lead to frustration.

    Fix: Practice stitches on scrap fabric before sewing your actual piece.

    What You Don’t Need (Yet)

    Don’t fall into the trap of overbuying tools you won’t use right away.

    • Advanced presser feet
    • Specialty rulers
    • Expensive cutting machines

    Focus on mastering the basics first—your skills matter more than your tools.

    Small Tips That Make a Big Difference

    • Always thread your machine with the presser foot up
    • Use matching thread color for a cleaner finish
    • Backstitch at the beginning and end of seams
    • Keep your workspace clean and organized
    • Take breaks—fatigue leads to mistakes

    These small habits elevate your work instantly.

    Final Thoughts

    Sewing is not about having everything—it’s about starting intentionally.

    With just a few essential tools and the right techniques, you can begin creating pieces that feel:

    • elegant
    • intentional
    • beautifully structured

    Every piece you create builds your confidence—and your skill.

    Ready to Start Sewing?

    Start with the right tools, take your time, and trust the process.

    Explore more guides inside MTBM Academy and continue building your sewing foundation.

    Affiliate Disclosure: This post may contain affiliate links. If you purchase through these links, we may earn a small commission at no extra cost to you.